
A Costco run can solve more than one dinner. With one Costco rotisserie chicken, you can eat dinner right away, or use it to stock your fridge and freezer with ready-to-use protein for soups, tacos, casseroles, pastas, and quick wraps. The best part is how easy it is!
Equipment (keep it simple)
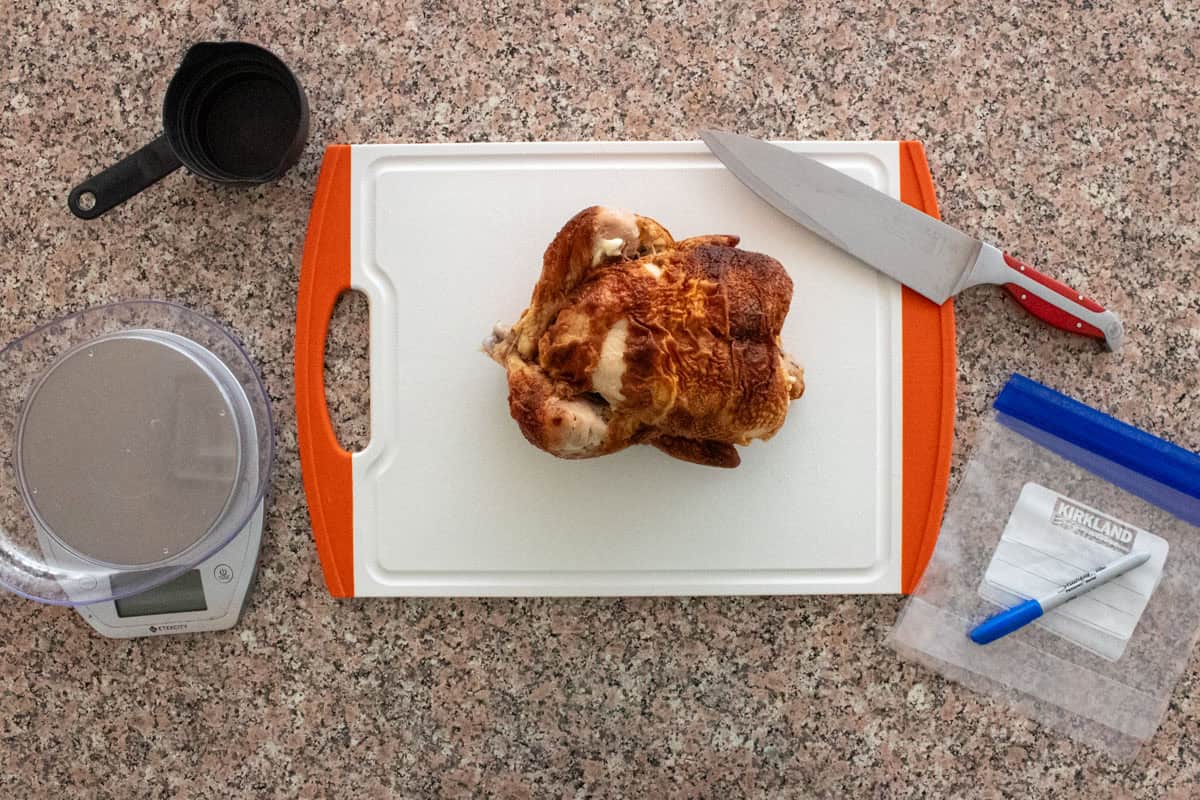
You don’t need fancy tools, just a basic setup:
- Cutting board (large enough to hold the whole chicken)
- Sharp knife (can be a carving knife or boning knife if you have one)
- Freezer bags (Costco freezer bags work well)
- Sharpie marker (for labels)
- Optional: food scale (helpful for even portions)
Why Costco rotisserie chicken is perfect for meal prep
Costco’s roasted chicken is a $5 loss leader, which is a fancy way of saying it’s a low-price item that brings people in. For meal prep, that price goes a long way.
It’s also already cooked until it’s soft and tender, so breaking it down is more like pulling meat apart than doing serious knife work. In most spots, the knife is just a guide.
Here’s where it shines for busy households:
- Quick protein for soups, stews, casseroles, tacos, quesadillas, and pasta
- Easy to turn into bite-size pieces for kid-friendly meals (especially helpful in winter)
- You can shred the chicken once and skip cooking chicken on future weeknights
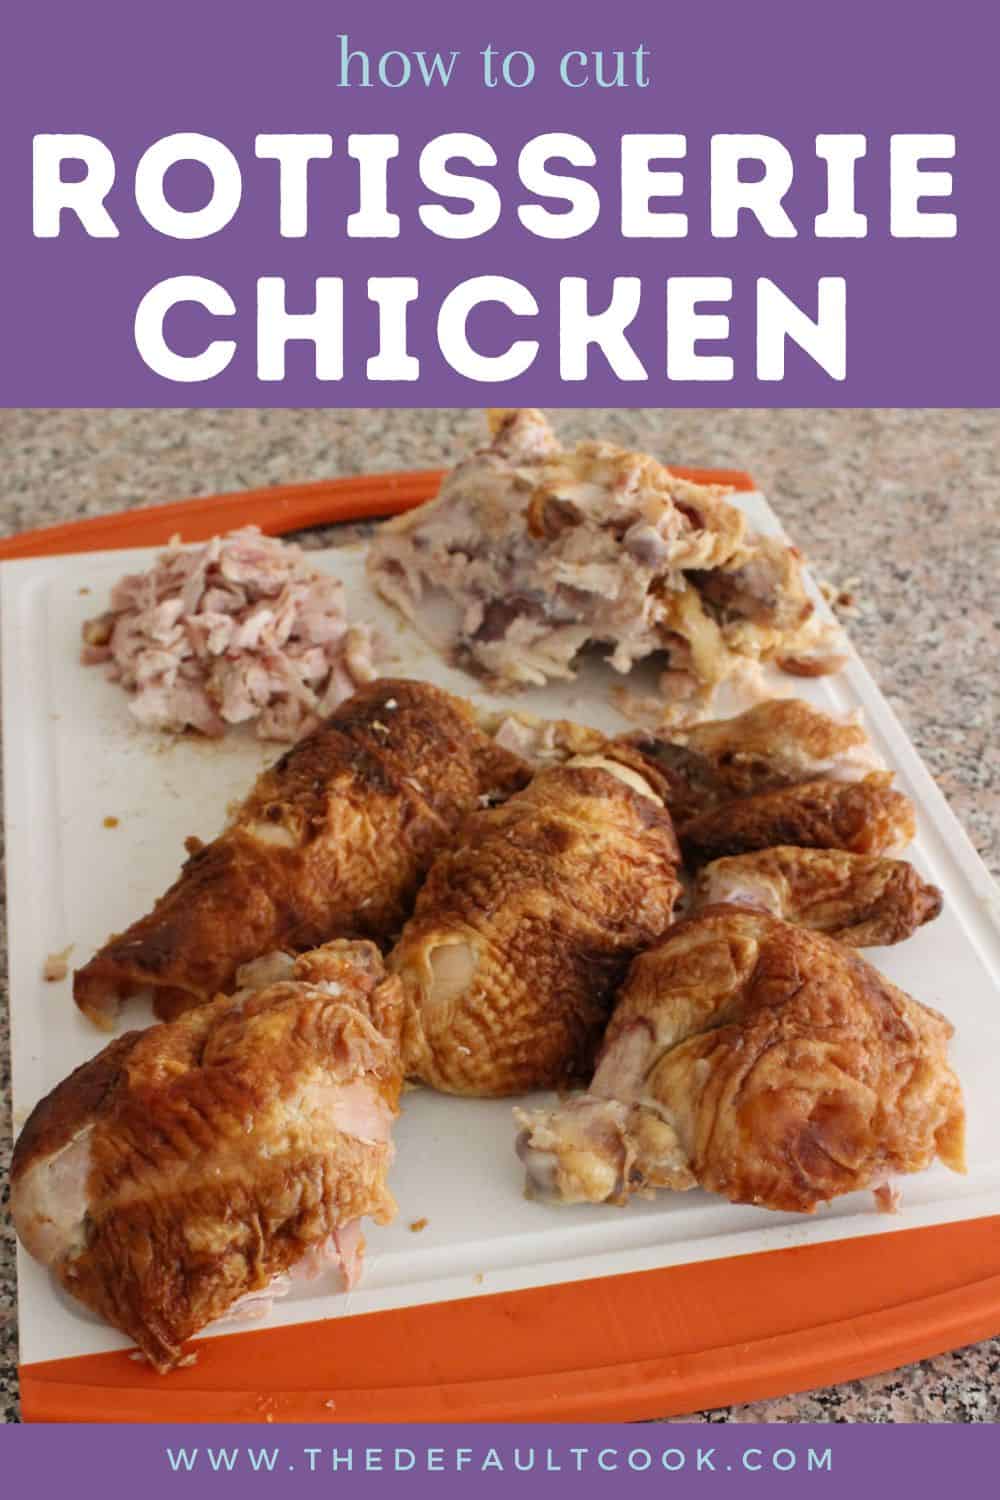
No time to read now? Pin it for later!
Timing tip: break it down when it’s warm, not hot
Rotisserie chicken is easiest to handle after you let the bird rest a little from the store, but before it turns fully cold.
A good routine is to come home, unpack everything else first (produce, pantry items, fridge stuff), then tackle the chicken while it’s still warm.
That timing helps because:
- The meat pulls off the bones more cleanly.
- The juices in the bottom of the bag haven’t fully gelatinized yet.
- You won’t burn your fingers, but you also won’t wrestle cold meat.
- The meat is typically cool enough to freeze once you're done.
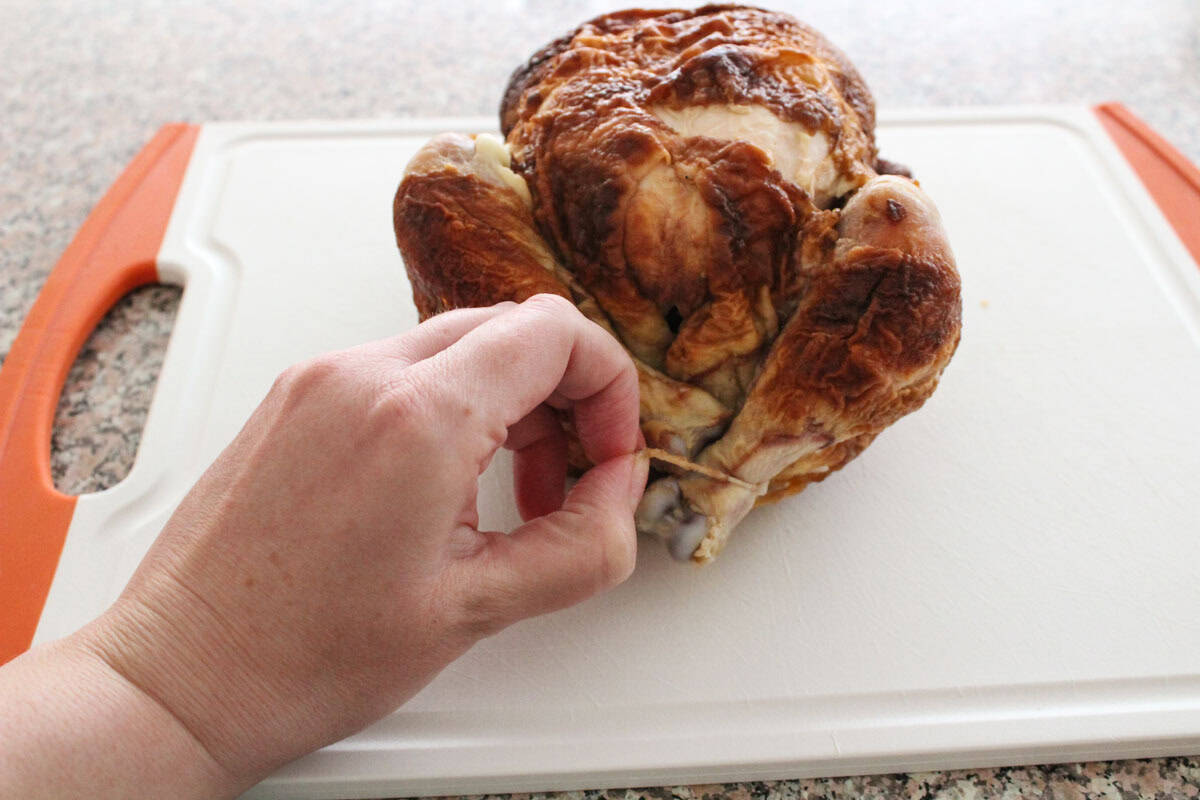
Start here: open the bag and remove the butcher's twine
With clean hands, set the chicken on a cutting board and take a quick look for butcher's twine. Some birds have it tucked underneath (used for trussing the bird), so flip the chicken over if you don’t see it right away, you'll usually find a starting point at the bottom of the legs.
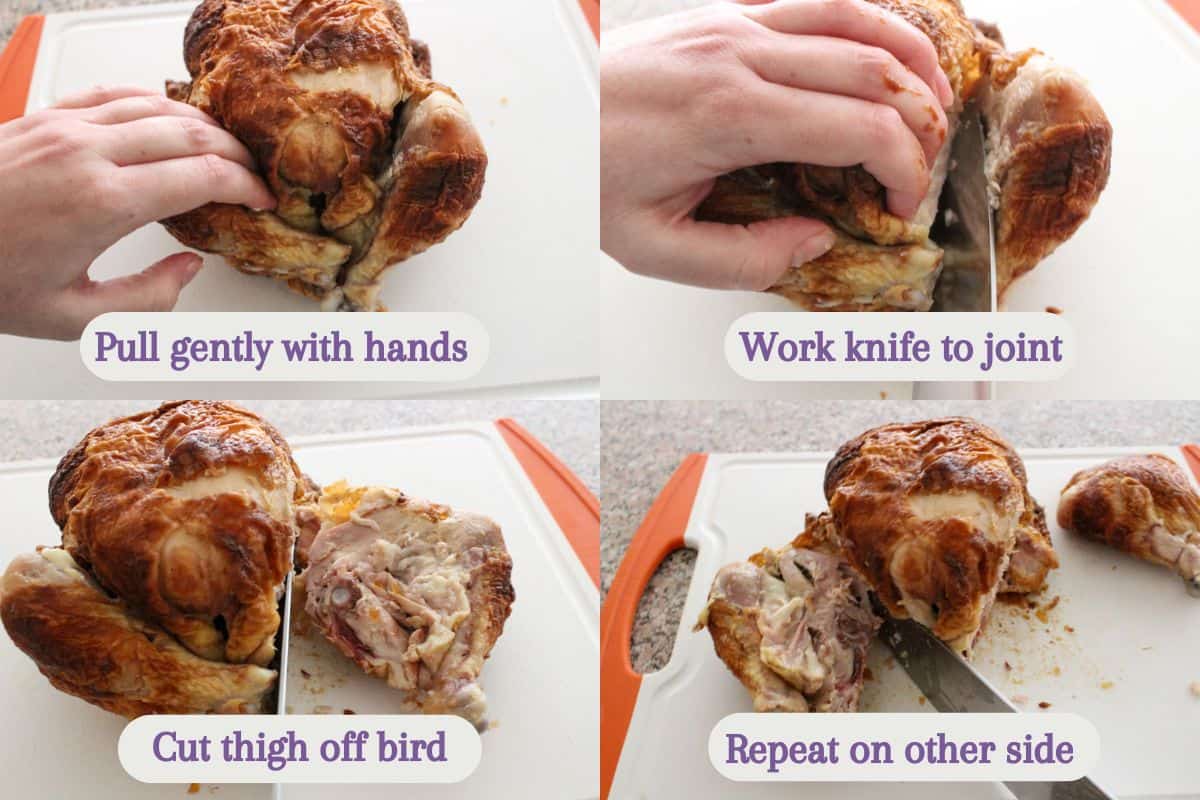
Removing the Thighs and Legs
This is the first big breakdown step, and it’s the one that makes the rest feel easy. The drumstick and thigh quarters come off at the joints, and the meat is tender enough that you don’t need to muscle through it.
- Pull one of the drumsticks down and away from the body to expose the hip joint.
- Use your knife to make a shallow cut along the line where the leg meets the body (think of it as tracing, not chopping).
- Find the joint and either cut or pull there. The leg quarter should separate with very little force.
- Repeat on the other side.
Pull off the wings (and optionally drums)
Next, grab one of the wings and pull it away from the body. Like the legs, the wings usually separate right at the joint with minimal cutting.
If one side resists, use the knife to guide it apart, then pull. You’ll deal with picking wing meat later when you shred and portion.
The drums may come off easily, or may stick tight to the body. You can pinch them off now, or wait until working on the back meat.

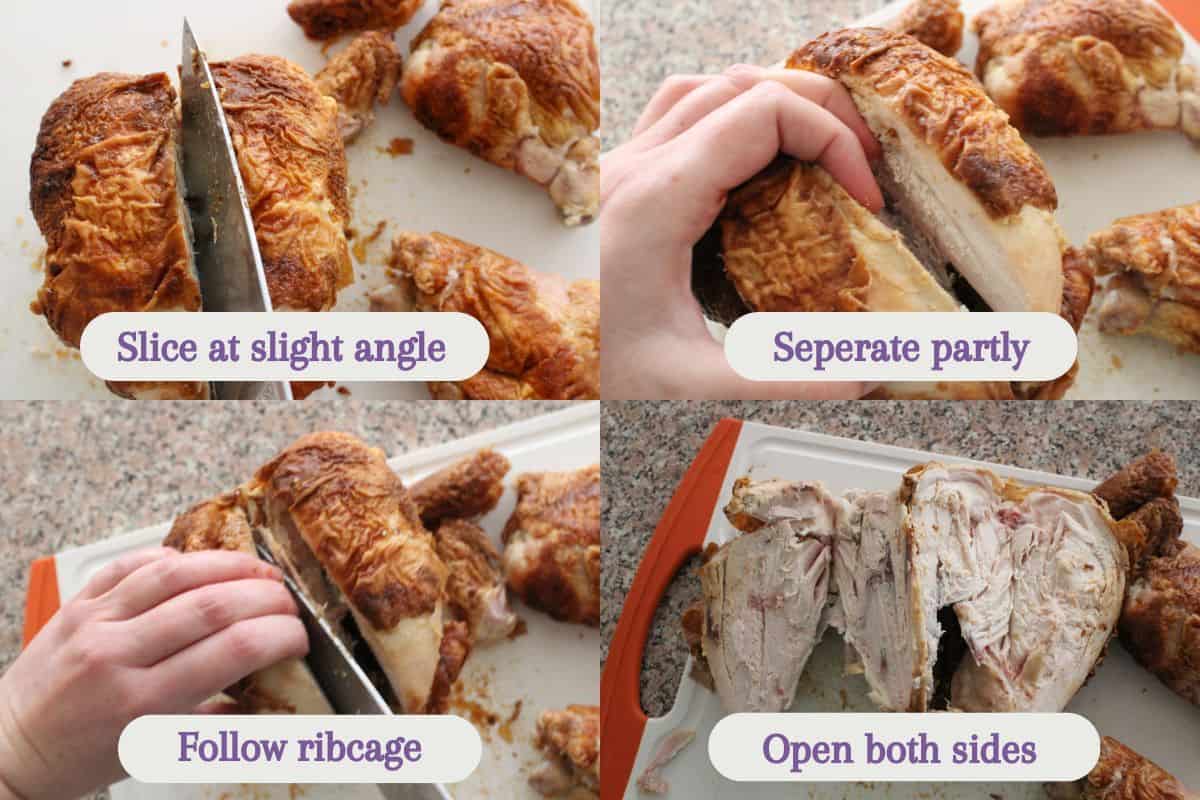
Remove the breast meat (use the knife as a guide)
The chicken breast is where you can get big, clean pieces.
Here’s the approach:
- Make a small guide slice along one side of the breastbone, navigating around the wishbone if you can (if not, just yank it out later).
- Angle the sharp knife slightly and slide it along the breast bone to separate the chicken breast.
- Do the same on the other side.
Inside the cavity, you’re basically sliding the knife along the keel bone, letting the bone guide you. I find it is easier to separate both sides before pulling either breast fully off the bone for balance, but you can do one side fully and then the other if you prefer.
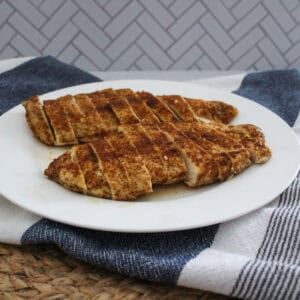
Once you’ve loosened a side, use your fingers to pull the meat away. You’ll usually get more meat off by hand than you will by trying to cut it perfectly. If eating immediately, place the chicken breast on a serving platter.
Skin and texture notes
- Skin is personal. Keep it if you love it.
- If you’re using this chicken in soups, stews, and pasta, crisp skin won’t stay crisp anyway.
Also watch for a clear membrane between the breast and the tender. If you can leave that behind, the texture is better. Sometimes it comes with the meat and that’s fine, but if you notice it, it’s worth avoiding.
Don’t forget the “extra” meat on the back
After you pull off the main pieces of the rotisserie chicken, there’s still good meat tucked along the back and near the thighs.
This is where fingers really help. You can use a knife, but you’ll usually leave meat behind. If you’re already handling the chicken, go ahead and pick those pieces off.
At this point, you’ll have a nice pile that includes:
- Breast meat (plus the bits you went back for)
- Two thigh and leg quarters (still mostly intact until you shred)
- Two wings
- Smaller pieces like the oyster and tail area meat
If you’re serving dinner right now, you can stop here and slice for the table.

Bonus: save the carcass for simple chicken stock
Once most of the meat is off, don’t toss the bones if you like homemade broth. You can make a basic chicken stock by covering the carcass with water and simmering it.
You can also save multiple carcasses until you have a few, then do one big batch in a stock pot.
Simple add-ins you can toss in with the bones:
- Onion skins
- Vegetable odds and ends
Make sure to save the wing and thigh bones too if you’re making stock.
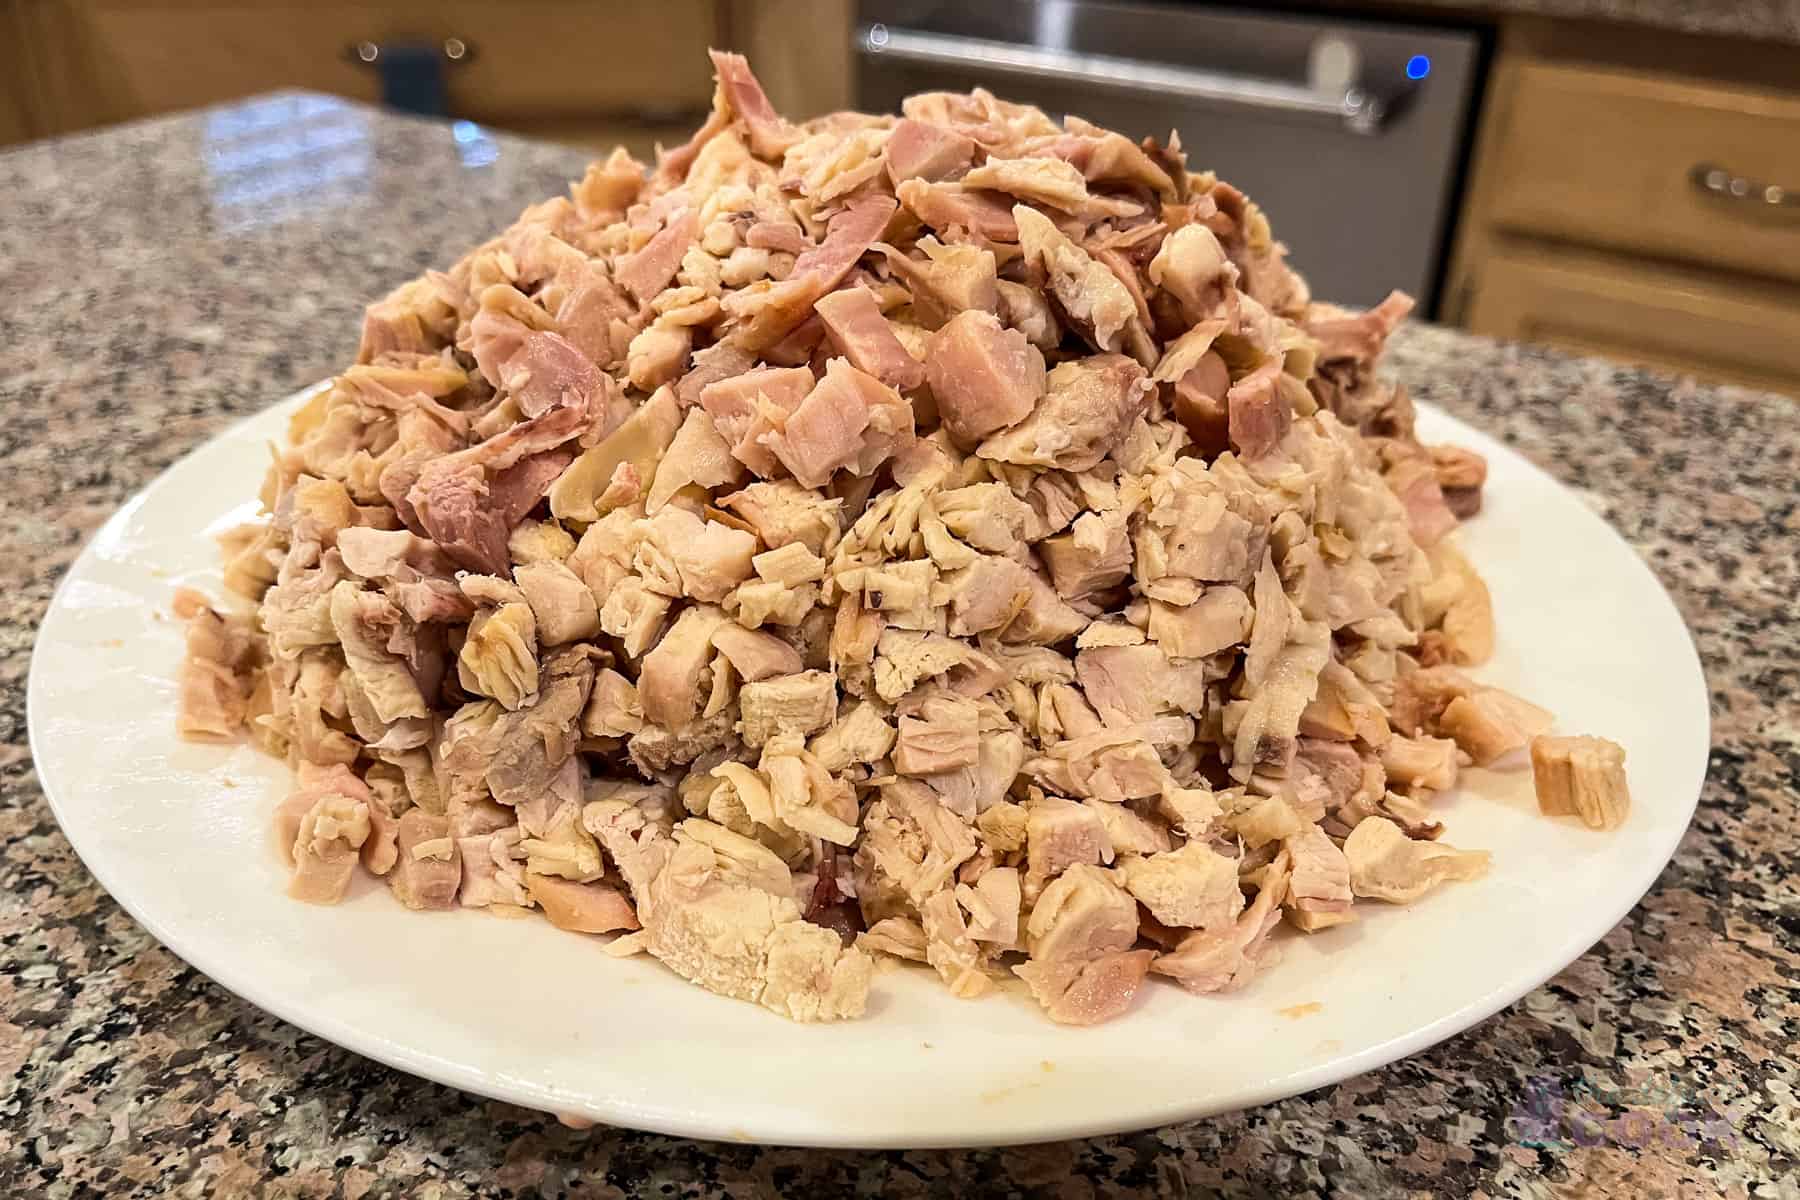
Shred, chop, and portion for future meals
Before portioning, give your hands a quick rinse, then start turning larger pieces into the size you’ll actually use later.
Separate thighs from drumsticks, then shred the chicken
The thighs and drumsticks usually split easily at the joint once cooked. Pull them apart by hand, then shred the chicken.
If you’re skipping skin, remove it as you go. This meat is often headed for soups, stews, casseroles, and pasta dishes, so shred the chicken into bite-size pieces.
If you’re making wraps or sandwiches, you might prefer slices instead of chopped pieces. For winter meals like soups and casseroles, a rough chop is usually the right fit.
Portion guide: cups and ounces
For storage tips on portioning, you can eyeball portions, use cups, or pull out a food scale.
A helpful rule from the video: 1 cup of rotisserie chicken is between 4 to 5 ounces, depending on how tightly it’s packed.
In the video above, the chicken gets divided into three freezer bags, aiming for roughly 9 to 10 ounces each. That’s close to 2 packed cups per bag.
If you’ve got a smaller chicken, bigger appetites, or you want larger meal batches, two bags might make more sense than three.
Label the bags before filling
Label each bag with:
- “Rotisserie chicken”
- The date
- Optional: weight (nice to have, not required)
The contents and the date matter most. Weight is helpful if you plan meals by ounces.
How to use the chicken
Once it’s portioned, you’ve got a head start on meals like:
- Soups and stews
- Casseroles
- Tacos and quesadillas
- Pasta dishes
It’s the kind of prep that pays off on the night you’re tired, the kids are hungry, and you just need dinner to happen.
Freezing notes
After portioning, press the chicken into flatter bags or an airtight container and squeeze out as much air as you can. Freezing the bags flat helps them stack neatly, then you can stand them up later once they’re solid.
The video walks through this step, but you can also read through how to freeze rotisserie chicken with reheating instructions.
Enjoy!
One rotisserie chicken can cover several meals, as long as you break it down and portion it in a way that fits how your family eats. Start with clean hands, use the knife to guide cuts, and rely on your fingers to get the most meat off the bones. Label your bags, save the bones if you want stock, and you’ll thank yourself later. A little prep now turns a $5 roasted chicken into weeknight relief.

Leave a Reply