
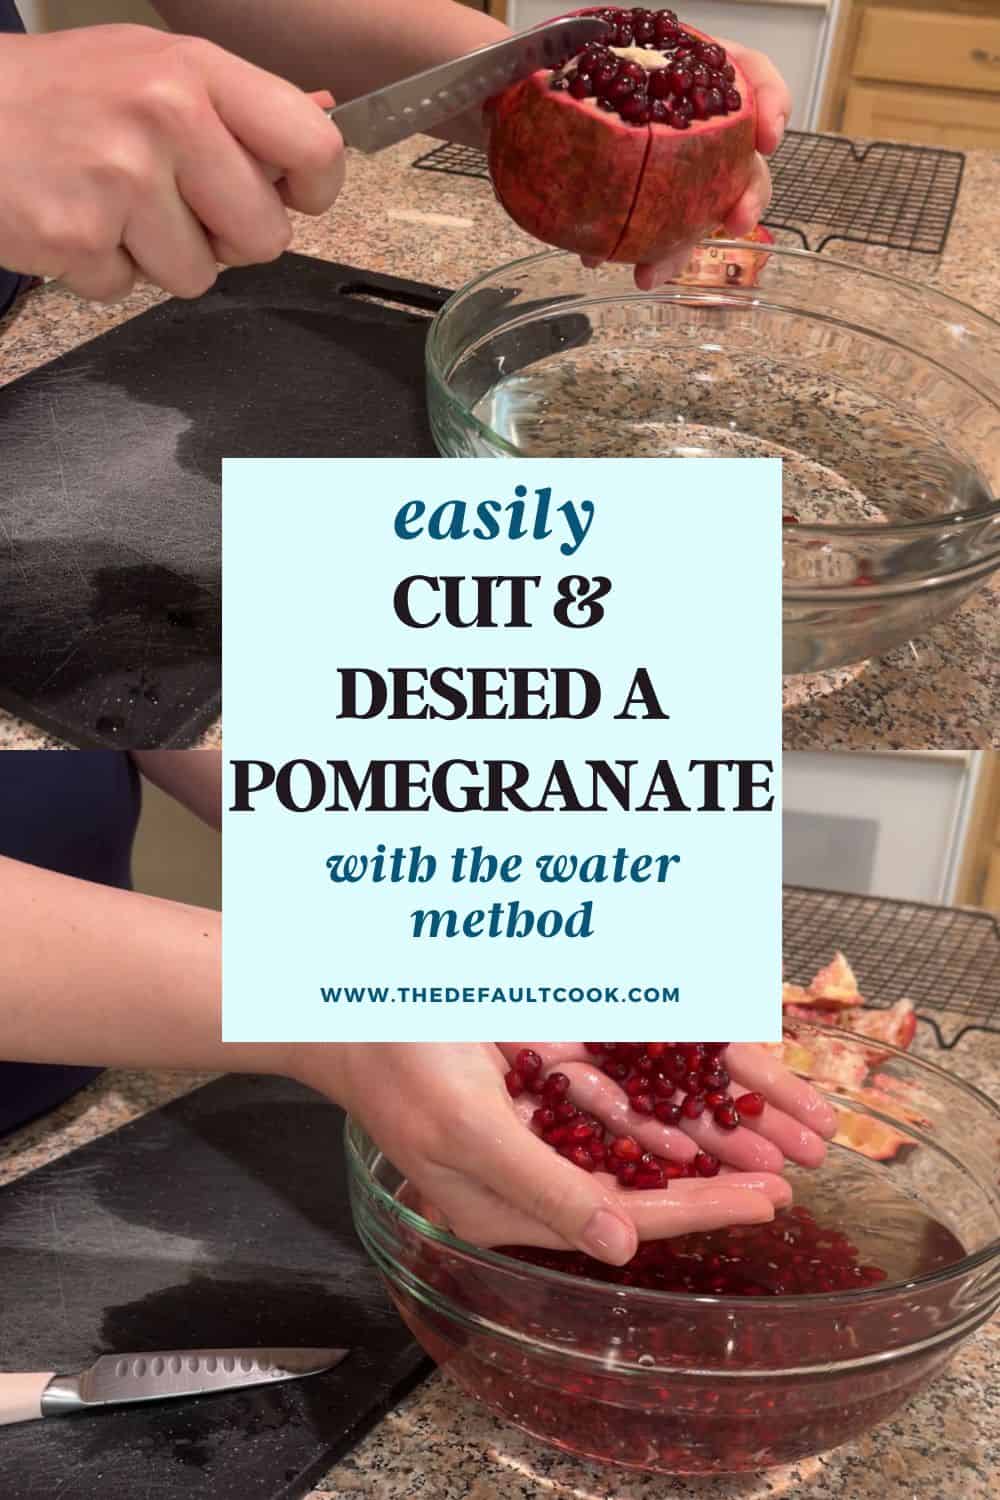
If you love pomegranates but hate the sticky red splatters, the water method shows you how to cut a pomegranate the calm way to get to the good part. I tried all the popular hacks when a family friend had a pomegranate tree, and landed on the simplest one to de-seed a pomegranate.
This approach uses a paring knife, a cutting board, and a bowl of water. That’s it. No wooden spoon whacking, no seeds flying, and way less juice bursting.
Why the water method works so well
Ripe pomegranates might look intimidating, but they’re built in a helpful way. Inside, the arils (those juicy ruby pomegranate seeds you eat) are packed into natural sections. Between them is white pith (membrane) that tastes bitter, but it’s harmless.
The water method takes advantage of one simple thing:
- The pith and peel float
- The pomegranate seeds sink
So instead of chasing bits of membrane around your counter, you let physics do the sorting. I also find this method breaks fewer arils, which means less juice loss and less mess on your hands.
What you’ll need (the 3-tool setup, plus two helpful extras)
You don’t need special gear. Keep it simple.
- Paring knife (or sharp knife): Small enough to follow the natural lines.
- Cutting board: Any stable board works.
- Bowl of water: Use chilled or room-temperature water to loosen pomegranate arils, not warm.
- Optional: Colander: Handy for scooping floating pith or straining arils.
- Towel or paper towels: If using cloth, keep in mind pomegranate juice can stain.
A quick note before you start: wash your hands first. You’ll be using your thumbs to push the arils out, so clean hands matter.

Step 1: Prep the pomegranate
Rinse first
Start by rinsing the outside of the pomegranate. Even though you won’t eat the peel, the peel goes in the water with your arils, so it should be clean.
Cut off the flower-end cap (without slicing the whole fruit)
Find the blossom end of the pomegranate (the “flower end” with its little crown), opposite the stem end. With your paring knife, cut shallow cuts around that end like you’re removing a lid. Don’t cut straight down through the whole pomegranate, or you'll release pomegranate juice everywhere. You’re trying to remove just the cap area and expose the arils underneath.
Then pop the cap off.

If you can’t see the segments, cut a little lower
Sometimes your first cut is too shallow on the pomegranate. You’ll know because you’ll still see mostly white pith at the top, or you’ll still see the flower bud area instead of clear section lines.
If that happens, go a bit lower and remove a little more of the top until you can clearly see the natural “spokes” that divide the fruit into sections. Once those lines are visible, the rest gets much easier.

Step 2: Score along the segments
Once you can see the section lines (the natural ridges), use them like a map.
Follow the natural lines with your paring knife
Place the pomegranate on the cutting board and score down along each ridge. You’re not trying to slice it into wedges. You’re making shallow vertical cuts when scoring the skin so the fruit can open cleanly.
Score most of the way down the ridges. The goal is to loosen the sections so they pull apart with your hands.

Step 3: Pull the sections apart in water and pop out the arils
Use a bowl of water to catch juice and keep things tidy
Set a bowl of cool or room-temperature water on your counter. You can work over the bowl in case anything spills, and you can also fully submerge pieces as you go.
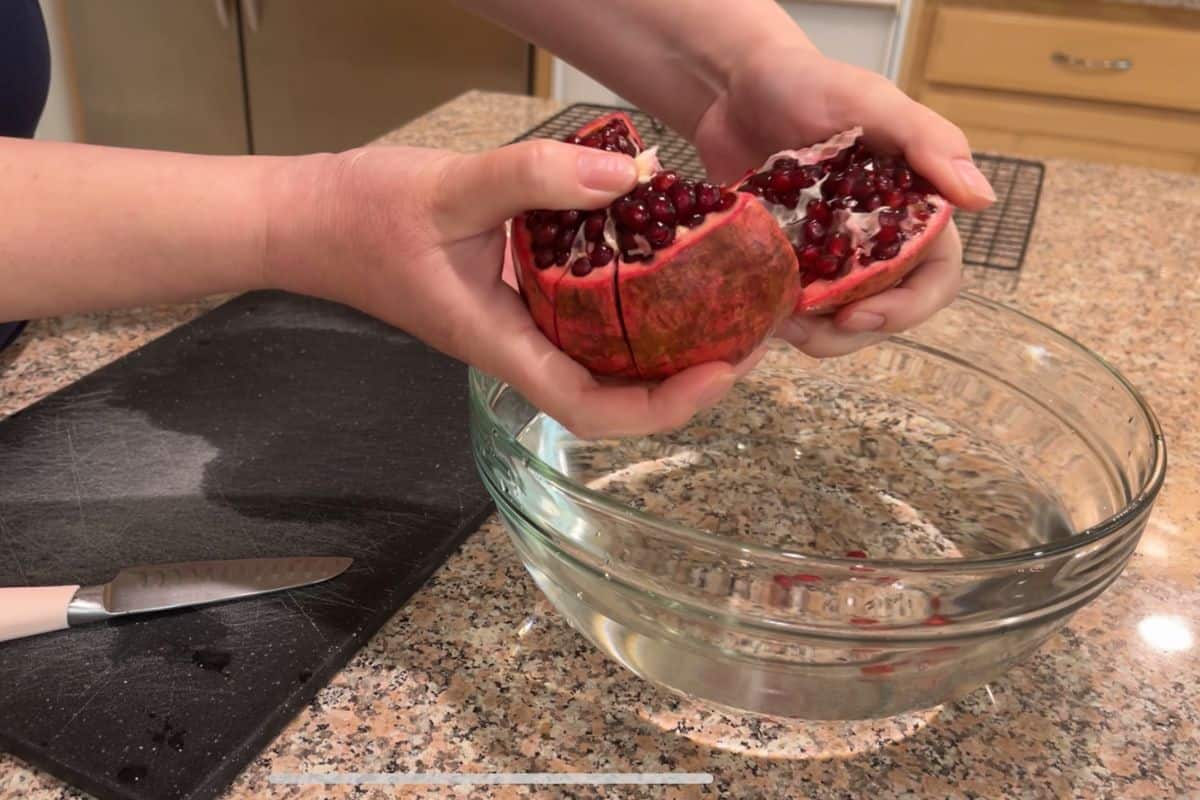
Open the sections and let the arils fall
Once the fruit is scored, gently pull the sections apart. Think of opening a book, not ripping cardboard. Some pomegranate seeds will drop into the water right away, and that’s perfect.
At this point, you can:
- Keep the pieces above the bowl and let pomegranate seeds fall in, or
- Submerge the section and work underwater
Both work. Underwater can help reduce splatter and makes it easier to ignore the mess.
Use your thumbs to push arils out gently
Ann’s technique is simple: use your thumbs to remove the seeds while holding the peel side back. Do it gently. If you crush them, you’ll get more juice in the bowl and less intact fruit.
As you go:
- Discard big chunks of peel and pith
- Don’t stress about tiny bits of white pith at first, you can clean them up later
Also, don’t worry if you accidentally eat a little white pith later. It doesn’t taste good, but it’s fine.

Handle the tricky center section (the spoon method struggles here)
There’s a center part near where the flower was. That spot is awkward to hit with a wooden spoon, which is one reason I prefer the water method for pomegranate. With your hands, you can reach it and pull it apart without brute force.
Getting the last few arils out
Most arils come out easily once you peel back the outer casing. The last few can take an extra minute.
What helps:
- Pull back the peel to expose what’s left
- Roll your thumb along the inside edge to pop out stubborn arils
- Work underwater if you want less mess, or above water if you want to see better
Once a section is empty, set the peel aside and move on.
Step 4: Separate pith from arils
This is where the water method shines.
Let the pith float and the arils sink
As you work, you’ll notice:
- Pith floats at the top
- Pomegranate arils settle at the bottom
That makes sorting quick. You can scoop off floating pith by hand, or use a colander if you want to be tidy about it.

Remove small pith bits without crushing the fruit
If you see little white pieces clinging to arils, they usually pop off with a light touch. Run your fingers gently through the arils to loosen any stuck pith.
Keep the motion gentle. You’re trying to clean them, not mash them.

Step 5: Strain and dry the arils
When you’re ready to drain the bowl, you have two options:
- Colander method: Strain everything at once.
- No extra dishes method: Carefully pour off water while using your hand to hold back the arils, or scoop handfuls out.
Either way, you'll want to dry them on a towel or paper towel. Spread the pomegranate arils out to dry.
If you use a cloth towel, pick a darker one you don’t mind staining. Pomegranate juice can leave marks.
Let the arils sit a bit until the surface moisture is gone, then transfer to an airtight container lined with a fresh towel or paper towel. Drier arils tend to keep better.

Cost check: DIY arils vs store-bought cups
I weighed the arils from one pomegranate after drying them, just to see how it compares with the pre-seeded containers at the store.
Here’s what I found:
- One pomegranate from the grocery store (on sale for $1.50) yielded just over 7 ounces of arils (about 7.15 oz)
- The store’s pre-seeded arils were sold as a two-pack for $9 total, which comes out to $4.50 per 8 oz pack
The takeaway: doing it yourself costs about significantly less, even with a slightly smaller yield than an 8-ounce container.
Plus, you get better longevity: when you de-seed a pomegranate the arils can last longer because you’re peeling them right before eating them, so they tend to last better when stored properly.
How to use fresh pomegranate arils
Once you’ve got a bowl of arils ready, they’re easy to throw into everyday food. My favorites:
You can even freeze pomegranate seeds for easy storage, perfect for smoothies and yogurt bowls anytime. Pomegranate arils also make a great snack on their own, especially when they’re cold from the fridge.
Enjoy!
Seeding a pomegranate doesn’t have to be loud, messy, or annoying when you know how to cut a pomegranate. With a paring knife, a cutting board, and a bowl of water, you can pull the fruit apart, pop the arils out gently, and let the water sort the pith for you. You’ll also spend a lot less than buying pre-seeded cups, while keeping the pomegranate fresher. Try de-seeding a pomegranate once, and the next pomegranate won’t feel like a chore. Happy snacking.


Leave a Reply