
Tired of pricey tubs of yogurt that vanish in a few days? Once you learn how simple homemade yogurt in the Instant Pot is, it starts to feel like a basic kitchen skill, not a project.
You only need two ingredients, a few common tools, and the yogurt button on your Instant Pot. The pot keeps track of time for you, so you are not hovering over the stove or guessing when to check the temperature. You heat the milk, cool it, stir in a little yogurt, and then let good bacteria do their work.
This guide walks through each step, including optional tips for thicker Greek-style yogurt.
Why Make Homemade Yogurt?
Homemade yogurt has three big advantages: it is economical, probiotic-rich, and naturally low lactose when you let it incubate a full 24 hours.
Where this recipe was filmed, a full gallon of milk cost under $3.50, and a half gallon under $2.50. The recipe will use ½ gallon for yogurt, plus about half a cup of yogurt from a previous batch or a small tub of plain yogurt from the store. This puts the total cost of a half gallon of homemade yogurt under $4, starter included, and goes down even more if using your own yogurt as the starter.
A long, 24-hour incubation lets the active cultures feast on lactose. That makes the yogurt very rich in probiotics and low in lactose. In my family, people who are quite sensitive to dairy can enjoy this yogurt, and even swap it in for sour cream in recipes, since unsweetened it is quite tangy.
A few key benefits at a glance:
- Cheaper than store bought yogurt.
- Tangy, creamy flavor that you can strain thicker if you like.
- Probiotic-rich and low in lactose after a full 24 hours.
- Hands-off timing since the Instant Pot counts up during incubation.
- Flexible use as yogurt, a sour cream stand-in, or a base for smoothies and sauces.
Ingredients For Instant Pot Yogurt
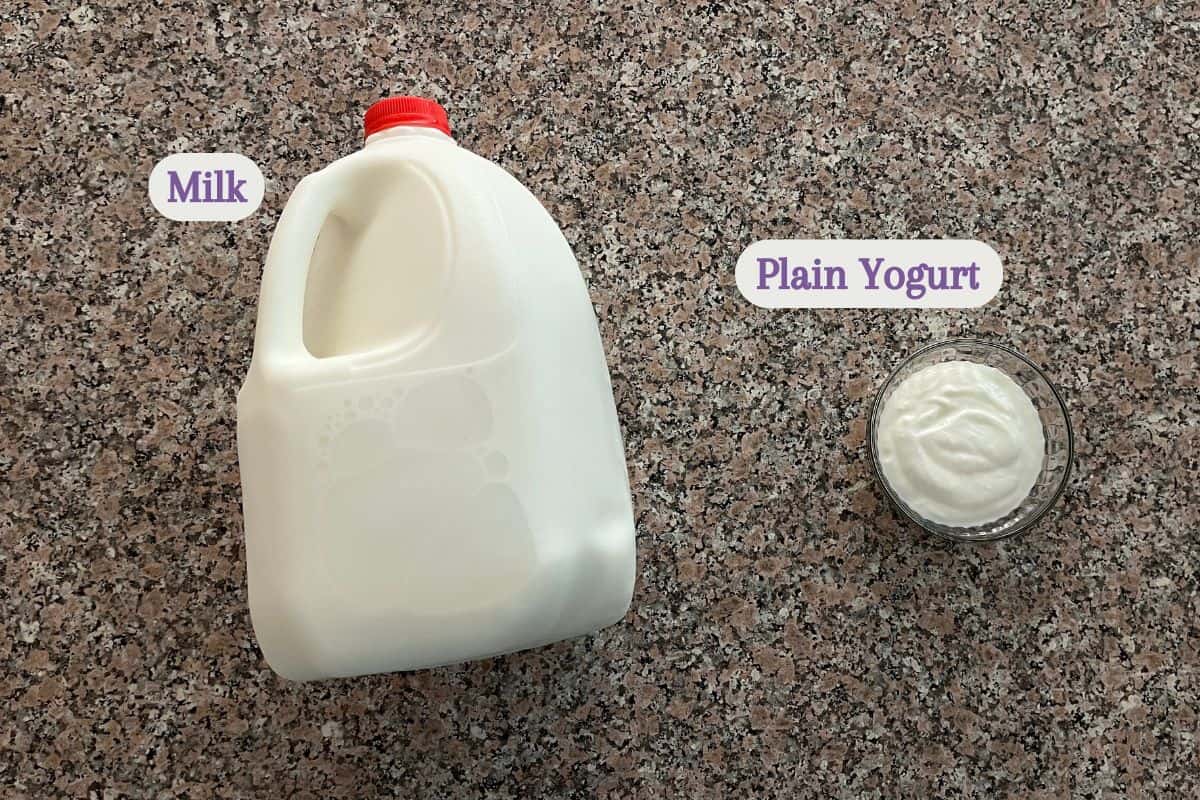
For a half gallon batch, you only need two ingredients.
- Half gallon dairy milk, preferably whole milk. It gives the creamiest texture, but skim milk and low-fat milk also work. Pour carefully into the pot so you are not touching the inside of the rim with your fingers.
- About ½ cup plain yogurt starter, which can be from your last batch or from a plain store-bought tub of non-fat yogurt. The key is that it is plain, unflavored yogurt with live active cultures listed on the label.
Check the label for “Active cultures” and avoid any flavors or sweeteners.
Want to save even more? From each new batch, reserve about half a cup of plain yogurt to use as the starter for the next one.
Equipment You’ll Need

You do not need much in the way of special equipment, and you probably own most of this already.
Instant Pot with yogurt button
Digital thermometer
This is one of the most important tools. You will use it to confirm that the milk reaches at least 180°F, then cools down to the range of 110 to 115°F before adding your starter.
Pot holders or oven mitts
Spoon or spatula for stirring
Large bowl or a clean sink for an ice bath
This is optional but speeds up the cool down process.
Storage containers
For a half gallon of yogurt, you'll want 2 quarts of total storage if not straining the yogurt.
Optional for Greek-style yogurt
- Strainer
- Bowl for the strainer to sit in
- Cheesecloth, folded into a double layer
The essentials are simple: a clean pot, a thermometer, and a clean stirring spoon. Everything else is about comfort and how thick you like your yogurt.
Step 1: Sanitize the Instant Pot
Why Sanitize First?
Yogurt is all about growing good bacteria. To give those helpful cultures a head start, it makes sense to start with a very clean pot. A quick steam cycle in the Instant Pot helps cut down on any stray bacteria so the yogurt cultures have less competition.
If you already know your pot is spotless, you can skip this step. If you are new to yogurt or want to be extra careful, this is a smart habit.
How To Steam-Clean The Pot
- Pour 1 to 1½ cups of water into the inner pot.
- Lock the lid and set the valve on Sealing, not Venting.
- Press Steam and let the pot come up to pressure. Once it begins steaming, let it run for 1 to 2 minutes.
- Press Cancel to turn it off.
- Use a spoon or another long utensil to flip the valve to Venting so the steam releases away from your hand and face.
- When the steam is released, carefully remove the lid.
- Using pot holders, lift the insert and pour the hot water down the sink.
The insert is now hot and freshly steamed. Set it back in the base or on a trivet so it is ready for the milk.

Step 2: Heat The Milk To At Least 180°F
This step helps eliminate bacteria that rode in with the milk so that the yogurt cultures can take over later.
Add The Milk
Pour about half a gallon of milk into the steamed insert. Place the insert back into the pot, if you had removed it, and lock the lid into place. Set the valve to Sealing.
Use The Yogurt “Boil” Setting
Most Instant Pots with a yogurt function cycle through a few options. On the model used here, pressing the Yogurt button repeatedly scrolls through:
- 8-hour yogurt
- 24-hour yogurt
- Boil
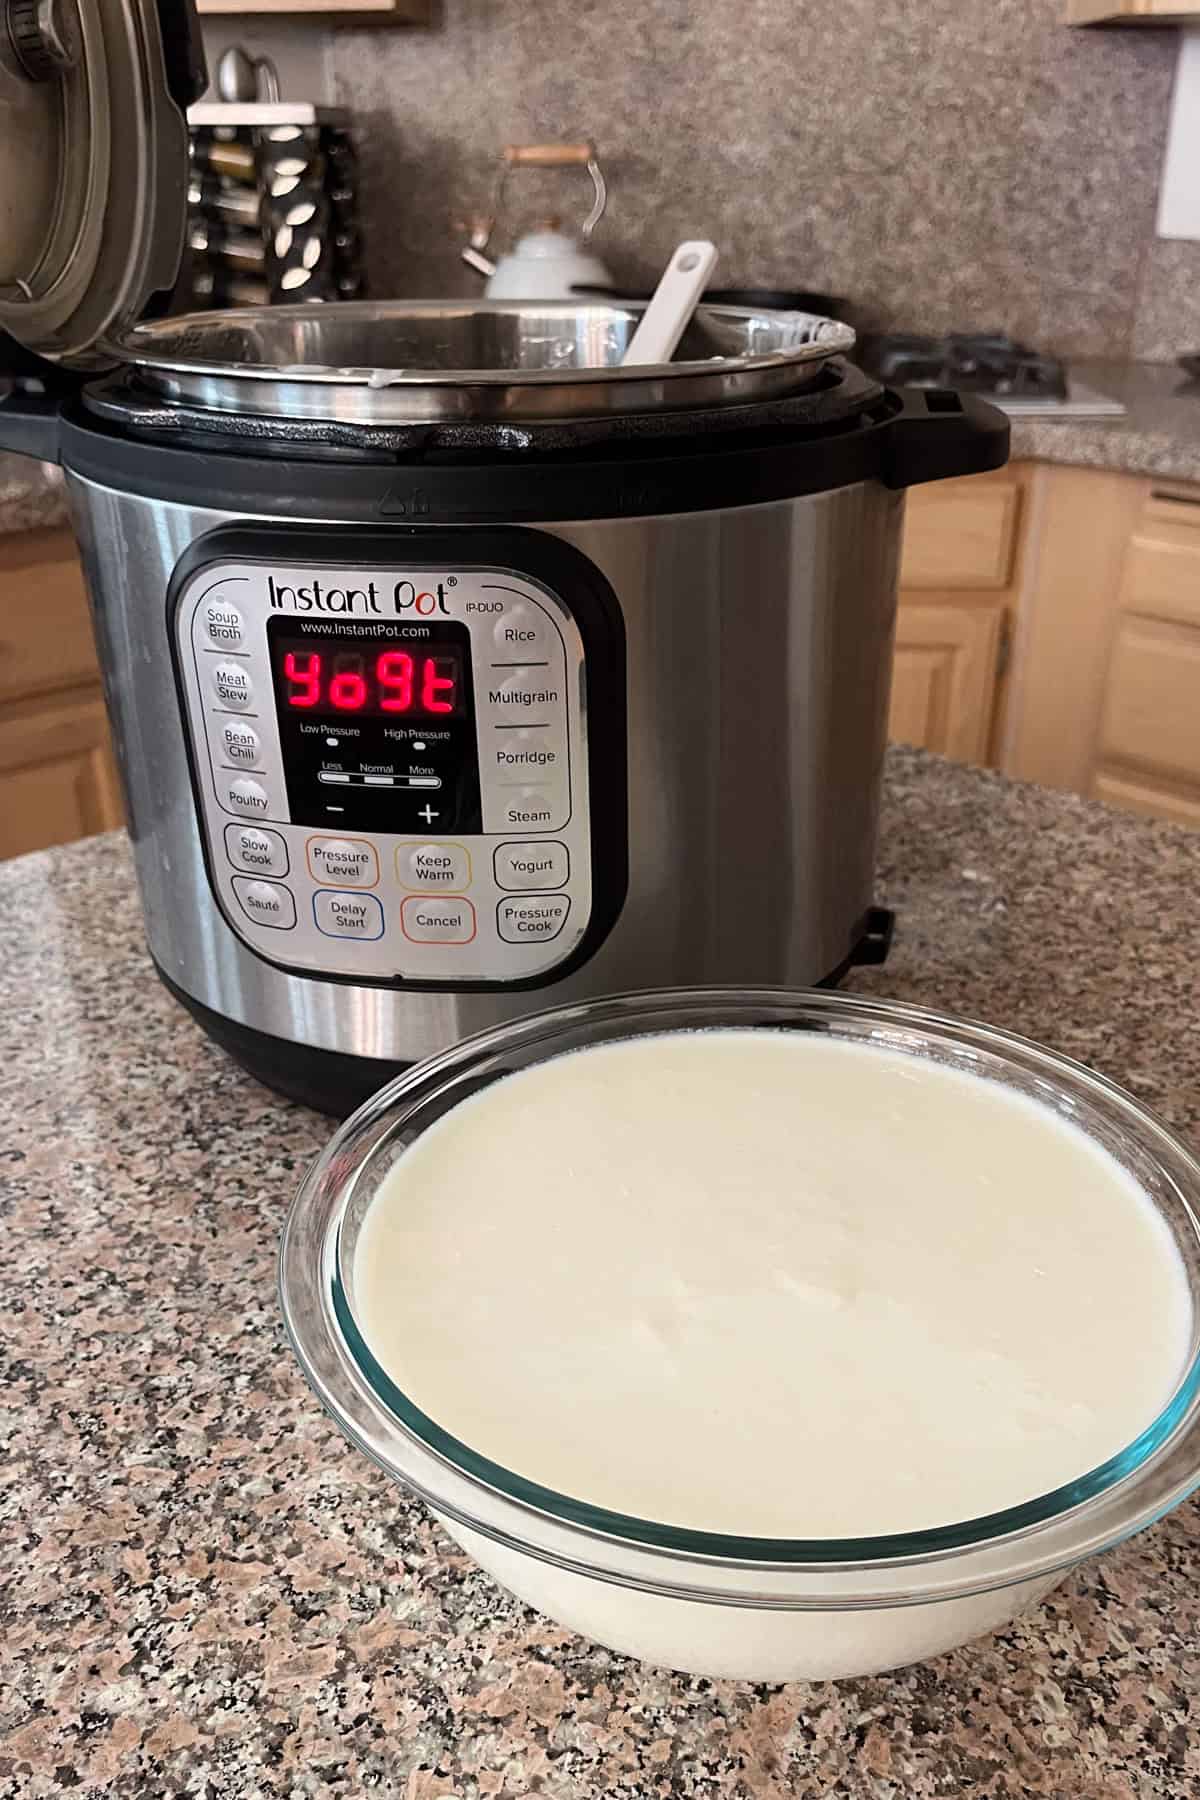
For heating, you want Boil. Press the Yogurt button until the display shows the boil option. The pot will heat it until it reaches its preset temperature, then it will beep and switch the display to “YOGT,” a short version of “yogurt.”
At that point, it is time to grab your thermometer.
Check The Temperature And Finish Heating
Use your spoon or a utensil to flip the valve to Venting. Since this cycle does not reach a full rolling boil and heavy steam, the release should be mild, but it is still worth treating as hot.
Take off the lid and look inside. You will see condensation on the lid and some steam from it. Insert your clean thermometer into the mixture and check the reading.
In the video, it was at about 166°F, which is not quite high enough. You want the temperature to reach at least 180°F before cooling. Assuming your reading is under 180°F:
- Press Cancel to clear the yogurt setting.
- Press Sauté.
- Stir gently and consistently as it heats. It will climb relatively quickly and can scald the bottom if left unattended.
- When the thermometer reads at least 180°F (be careful not to bring to a full boil), press Cancel again to stop the heating.
Step 3: Cool The Milk To 110 To 115°F
Set Up An Ice Bath (optional)
While the milk is heating or right after it reaches 180°F, set up your cooling station.
- Fill a large bowl or clean sink with a shallow layer of ice and cold water to create an ice water bath.
- The water level should be low enough that, when you set the Instant Pot insert inside, the liquid in the bowl does not rise high enough to spill over the top.
- The goal is for the ice water level to sit above the level of the milk in the pot, without risking tipping or flooding.
Stainless steel inserts do fine in an ice bath. Ceramic inserts, like some slow cooker crocks, can crack if plunged into ice water when hot, so this is a nice perk of using the Instant Pot.
Prefer not to do an ice bath? No problem. Simply stir occasionally and keep an eye on the temperature. It will just take a bit longer to drop the temperature below 115°F.
Your target temperature is between 110°F and 115°F. The cultures like warmth, but if the milk is much hotter than 115°F, it can hurt the live bacteria in your starter.
Once the milk drops below 115°F, lift the insert out of the ice bath, let the outside drip dry for a moment, and set it on a towel or trivet. You do not want it to keep cooling in the ice.
Step 4: Add The Yogurt Starter And Incubate
Stir In The Starter
Take your Yogurt starter out of the fridge. You want about half a cup for a half gallon of milk. The general rule is at least a quarter cup per half gallon, but it's better to have a bit more than to have less.
Scoop the starter into the warm milk, then use your clean spoon to stir it in very well so the cultures spread evenly through the milk.
Set The Instant Pot To Incubate
Now it is time to turn this milk into yogurt.
- Place the insert back into the base.
- Lock the lid and set the valve to Sealing.
- Press the Yogurt button.
- Press again until you reach the 24-hour setting. There is usually also an 8-hour option, but 24 hours gives the creamiest texture, the most tangy flavor, and the lowest lactose level in this method.
On this setting, it counts the time up, not down. You will see “0:00,” then “0:01,” and so on, building up to 24 hours. When the time is up, it will beep to remind you.
During this time, the live cultures eat the lactose in the milk, grow, and thicken the mixture. That long feast on lactose is what often makes this Instant Pot yogurt easier on dairy-sensitive people in the family.
Step 5: Check, Store, And (Optionally) Strain The Yogurt
After The Beep
After 24 hours, your Instant Pot will beep and the display will show that the yogurt cycle is finished.
- Open the lid and look at the yogurt. It should be thick and a bit jiggly.
- Gently stir. It will be looser than store Greek yogurt, which is normal.
At this point, the yogurt is safe to refrigerate.

Storing Your Yogurt
Scoop the yogurt into clean storage containers:
- A 2-quart container should hold the full batch, but you'll have less if straining it.
- If you strain all or some for Greek yogurt, you may want another container for the whey.
A few important storage tips:
- Plain, unsweetened yogurt like this will keep about 2 to 3 weeks in the fridge.
- If you sweeten the yogurt, the shelf life drops to about 1 week.
- Before you add any sweetener, set aside about half a cup in a small container. Label it as your starter for the next batch.
You can add flavor to individual servings later with honey, fruit, or jam so the main container stays plain and keeps longer.

Optional: Strain For Greek-Style Yogurt
If you like thicker yogurt, or you have a recipe that calls for Greek yogurt, you can strain part of the batch.
- Set up a mesh strainer over a bowl.
- Line the strainer with cheesecloth, folded into a double layer if it doesn't come that way already.
- Scoop some of the fresh yogurt into the lined strainer. Do not overfill past where the cheesecloth goes on the strainer.
- Let the yogurt sit for about an hour so the whey can drain into the bowl. You can do this on the counter for a shorter time, or in the fridge if you plan to leave it longer.
- After draining, the yogurt in contact with the cheesecloth will look much thicker, especially around the sides.
- Carefully lift the cheesecloth and transfer the thickened yogurt into a clean container. If some sticks, you can scrape it off with a spoon or gently squeeze the cloth. This part looks a little messy but works fine for home use.
The longer you let it drain, the thicker your yogurt will be. For long draining times, move the whole setup to the fridge.
You will see liquid in the bottom of the bowl. That is whey, and it is useful.

What To Do With The Whey
The liquid that drains off strained yogurt is whey. It often looks pale yellow or slightly cloudy.
Here is how it behaves:
- If the whey is slightly cloudy, it usually keeps about as long as your yogurt does in the fridge.
- If it is very clear, it often lasts even longer.
You can:
- Store it in a small jar in the fridge and use it within the life of your yogurt.
- Pour it into ice cube trays, freeze, then pop cubes into smoothies for an easy protein and probiotic boost.
There are other uses for whey, but using it in smoothies is one of the simplest options if you only strain a portion of each batch.
Troubleshooting And Simple Tips
Here are a few common situations and how to handle them, based on the steps above.
- Milk is not hot enough after the boil cycle
If your thermometer reads under 180°F, use the Sauté function and stir until it reaches about 180°F, then cancel and proceed. - Milk cooled too much before adding starter
If the temperature drifts a little under 110°F, that mostly means the cultures will work more slowly. If it falls below 104°F you can briefly warm the milk again using the Sauté setting for a few seconds, using a whisk to stir quickly and checking often, then let it cool back into the 110 to 115°F range. - Yogurt seems runny
A looser texture is normal for unstrained yogurt. For a thicker Greek Yogurt texture, strain some or all of the batch through cheesecloth as described. - You do not have an Instant Pot
The same heat, cool, and incubate process works on the stovetop or in a slow cooker. You will just need to watch the temperature with your thermometer and track time yourself, since there is no yogurt button to beep at you. - You forgot to save starter
For your next batch, buy a small tub of plain yogurt with live active cultures and use that to restart the cycle.
Once you go through the method a couple of times, the steps become second nature: heat, cool, stir in starter, incubate, chill, and enjoy your finished Homemade Yogurt.

Ready to Try Your First Batch?
Instant Pot yogurt is one of those quiet kitchen habits that pays you back every single week. With a little milk, a spoonful of starter, and some time on the counter, you get a big batch of tangy, probiotic-rich yogurt tailored to your taste and budget.
You can keep it plain, add flavor to each serving, or strain part of it for a thicker style. Refrigerate as the final step before enjoying the yogurt. You can even save the whey for smoothies so almost nothing goes to waste. If you have one sitting on your counter, this is a simple way to put it to work.


Elizabeth says
I am really unsure which what to do with the whey? This yogurt turned out amazing btw. It was so easy
Anne Aslanides says
I'm so glad the yogurt turned out great for you Elizabeth! For the whey if you make smoothies you can freeze it in ice cube trays and toss a few in a smoothie, or swap it for some of the milk or water in oatmeal or rice.