
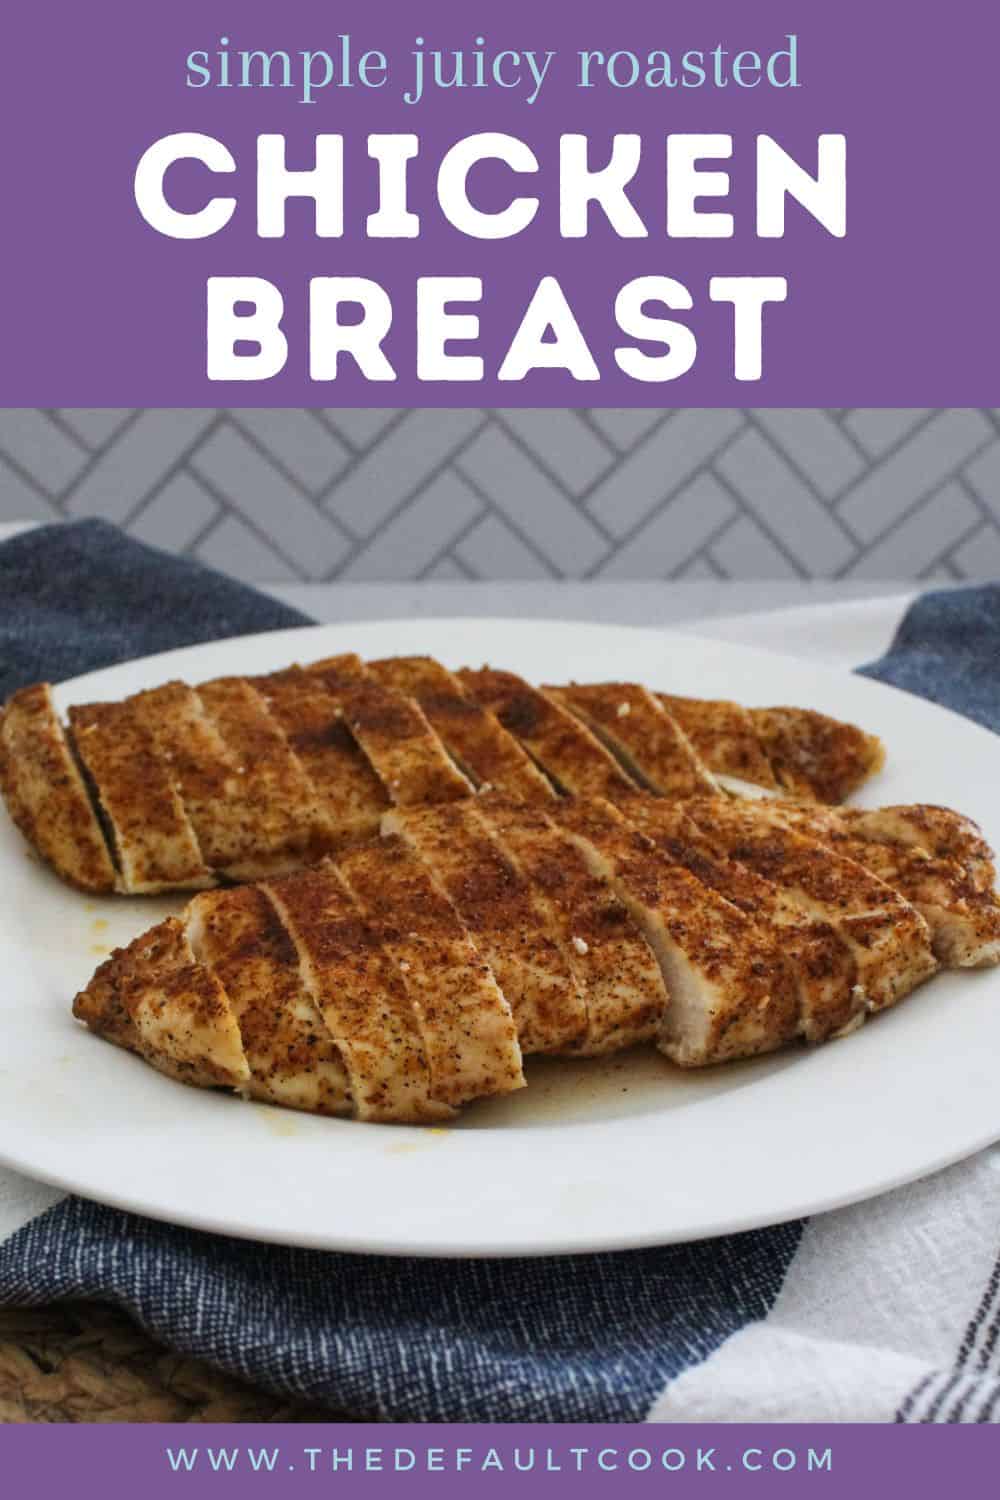
Dry boneless skinless chicken breasts usually aren’t a seasoning problem, it’s a timing and temperature problem. This method keeps baked chicken breast tender by doing two simple things: flattening the meat for even cooking, and using a thermometer so you pull it at the right moment. No need to brine the chicken, no fancy steps, just reliable juicy chicken you can use all week.
Why this baked chicken breast stays juicy
Baked chicken breast is lean, so it doesn’t give you much margin for error. If one end is thin and the other end is thick, the thin end finishes first and keeps cooking while you wait on the thick end. For food safety you may error on the side of overdone too. The combination can lead to that dreaded dry, stringy bite.
This approach fixes that:
- Flatten for even thickness so both ends finish closer together.
- Bake at 400°F for a quick cook that still browns and delivers juicy chicken.
- Pull at 160°F, then let it rest so carryover heat brings it to 165°F without drying it out.
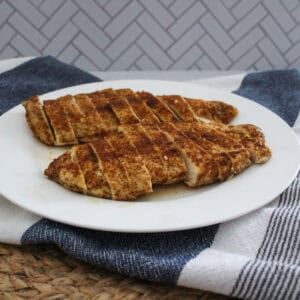
It also fits real life. This tender chicken works as dinner cooked fresh (try it with roasted broccoli and potatoes), but is also great for making ahead. With a simple but tasty seasoning it's perfect for salads, wraps, pasta salads, casseroles, bowls, and other meal prep.
Let's Get Started! Here's What You'll Need:
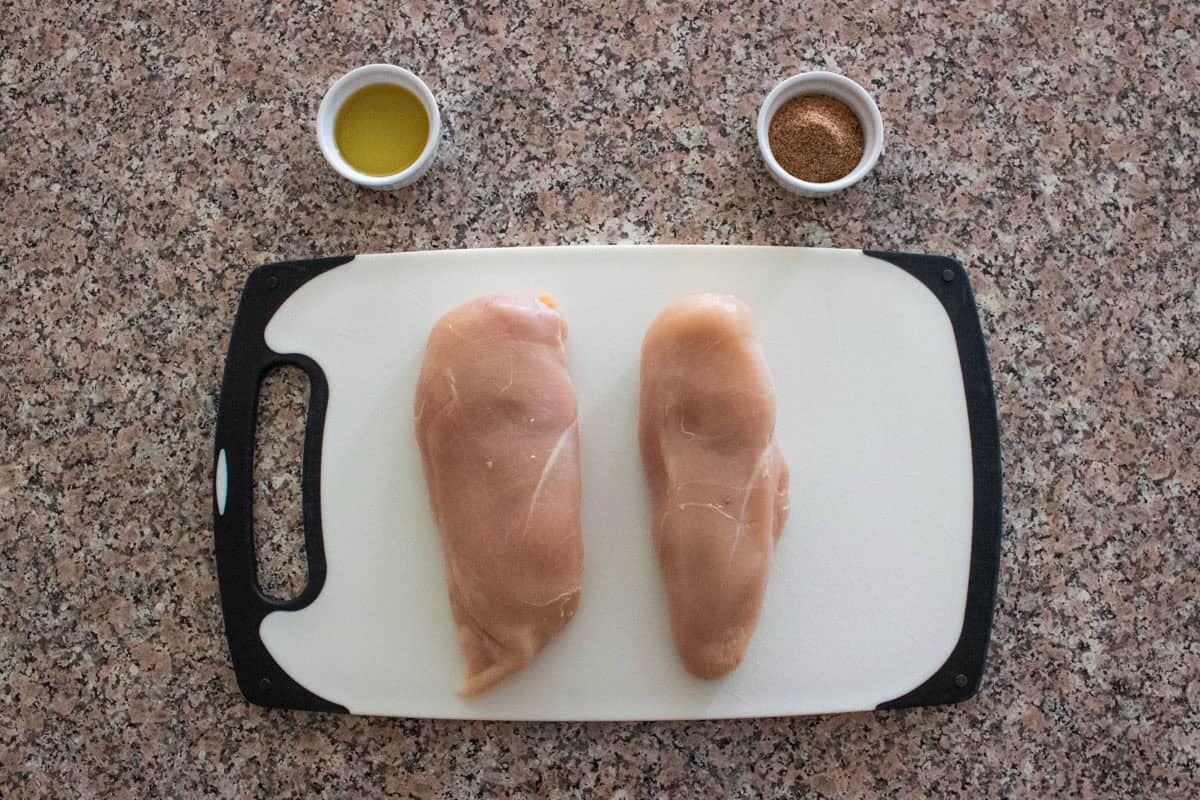
Ingredients:
- Boneless skinless chicken breasts (fresh or thawed)
- Oil (I reach for avocado oil, but olive oil or canola oil work great too)
- All purpose seasoning (or your favorite chicken seasoning blend)- mine is a mix of garlic powder, onion powder, sea salt, black pepper, and paprika.
Equipment:
- Rimmed baking dish or roasting pan (any size that fits your chicken)
- Parchment paper (for easy cleanup)
- Instant-read meat thermometer (a basic $10 to $20 one works)
- Meat tenderizer (smooth side) or a heavy canned good or rolling pin
- Fork (helps flip and season with less hand washing)
- Cutting board- for pounding the chicken if not in a zip top bag
- Optional: silicone pastry brush (for spreading oil and seasoning)
A quick note on thawing frozen chicken
If your chicken is frozen, one low-effort method is to thaw it in a bowl of cold water in the fridge. It speeds things up if you didn't put it in the fridge early enough, and you don’t have to babysit the sink or keep changing water constantly.
Step-by-step: how to bake chicken breast (so it’s actually juicy)
Prep
Preheat oven to 400°F and line your pan with parchment paper for easy cleanup.
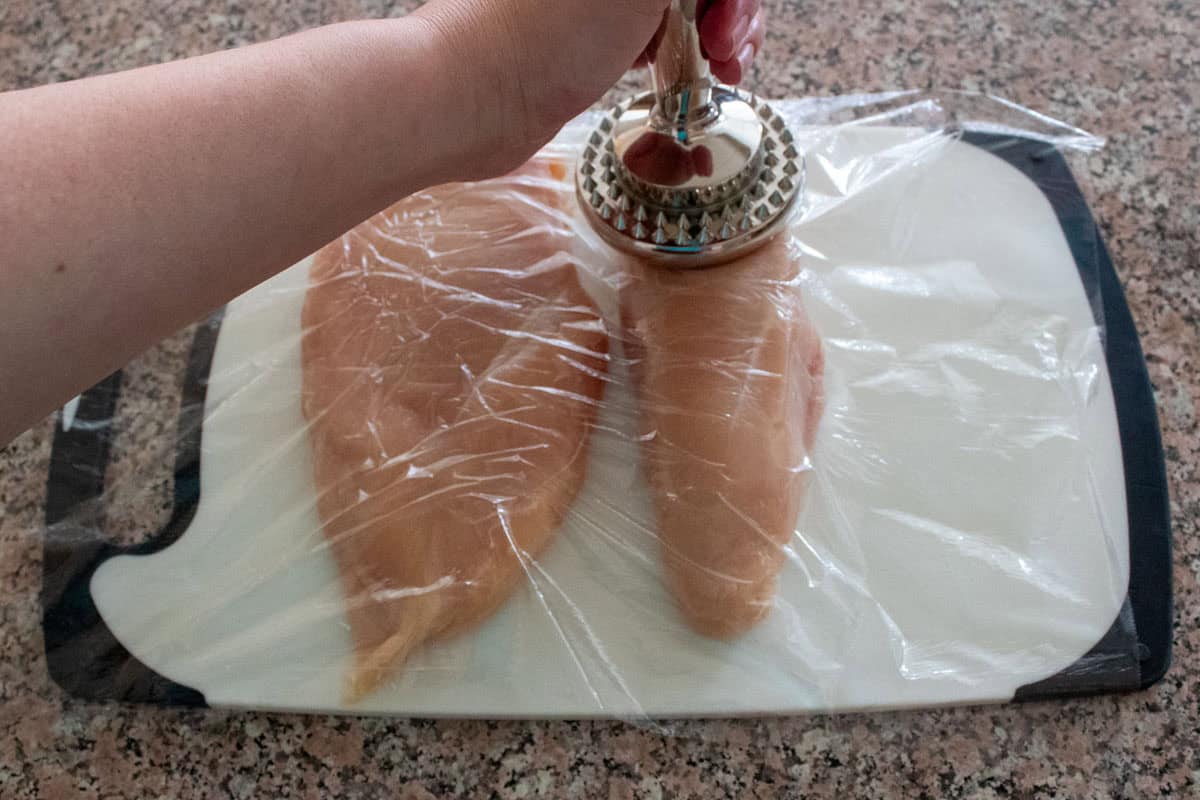
Flatten the chicken for even cooking
Put the chicken on a flat, clean surface like a cutting board. Cover it with plastic wrap or another piece of parchment to prevent raw chicken juices spreading.
Pound the chicken with the smooth side of a meat tenderizer until it reaches an even thickness. If you don’t own a tenderizer, use a rolling pin or heavy canned good.
Focus on the thicker end. Chicken breasts almost always have one side that’s noticeably thicker, and that side is what causes overcooking on the thin end.
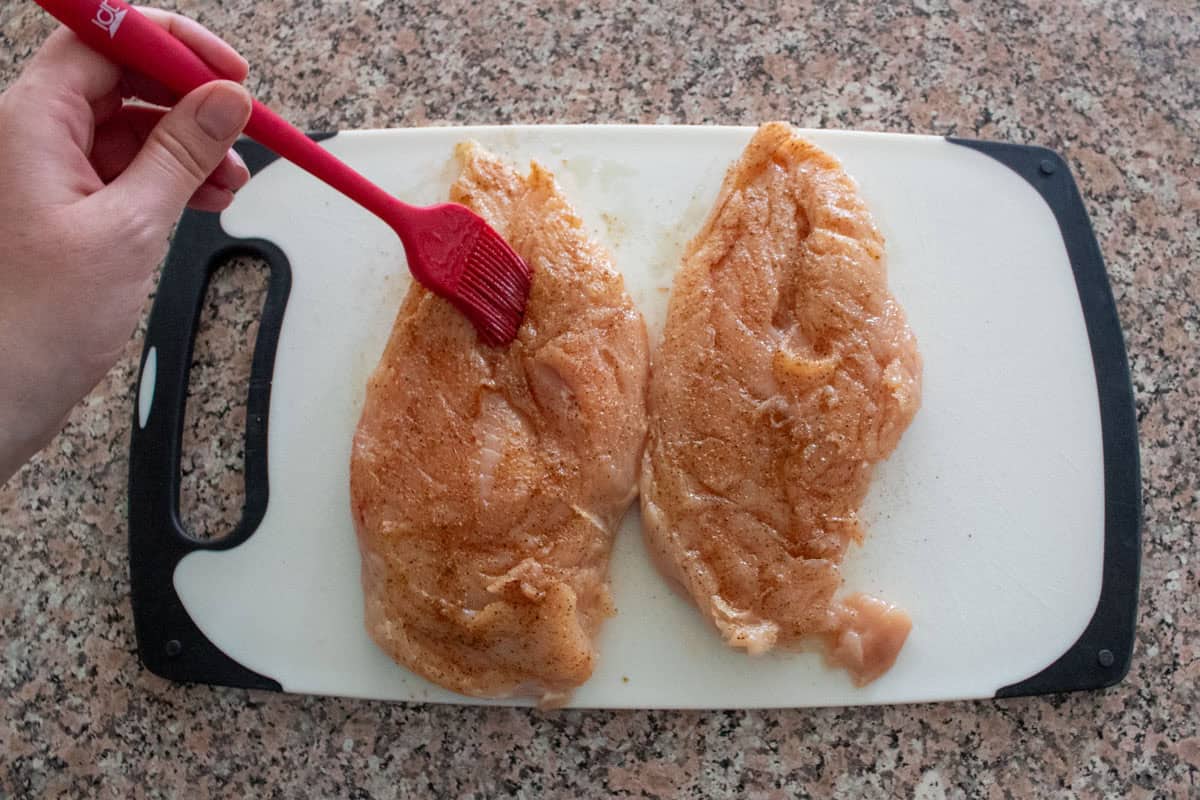
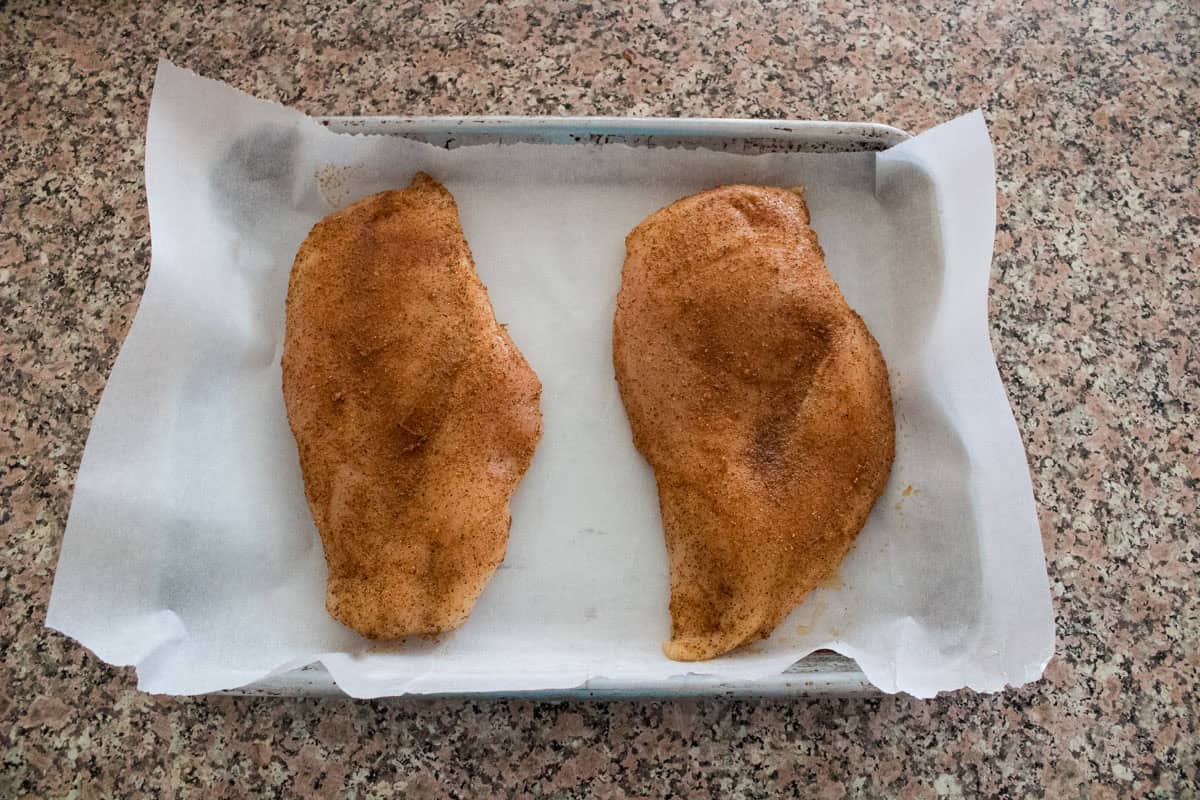
Oil & Season
Place the chicken on the lined pan, and wash your hands. Add oil and seasoning to both sides of the chicken, flipping it with the fork and spreading the seasoning and oil with the pastry brush. Transfer to the parchment lined baking sheet.
Bake and Temperature Check
Place your seasoned chicken in the preheated oven. For chicken breasts that are about a half pound or more, bake at 400°F for about 18 minutes (your estimated cooking time). Organic chicken breasts tend to be smaller and cook faster.
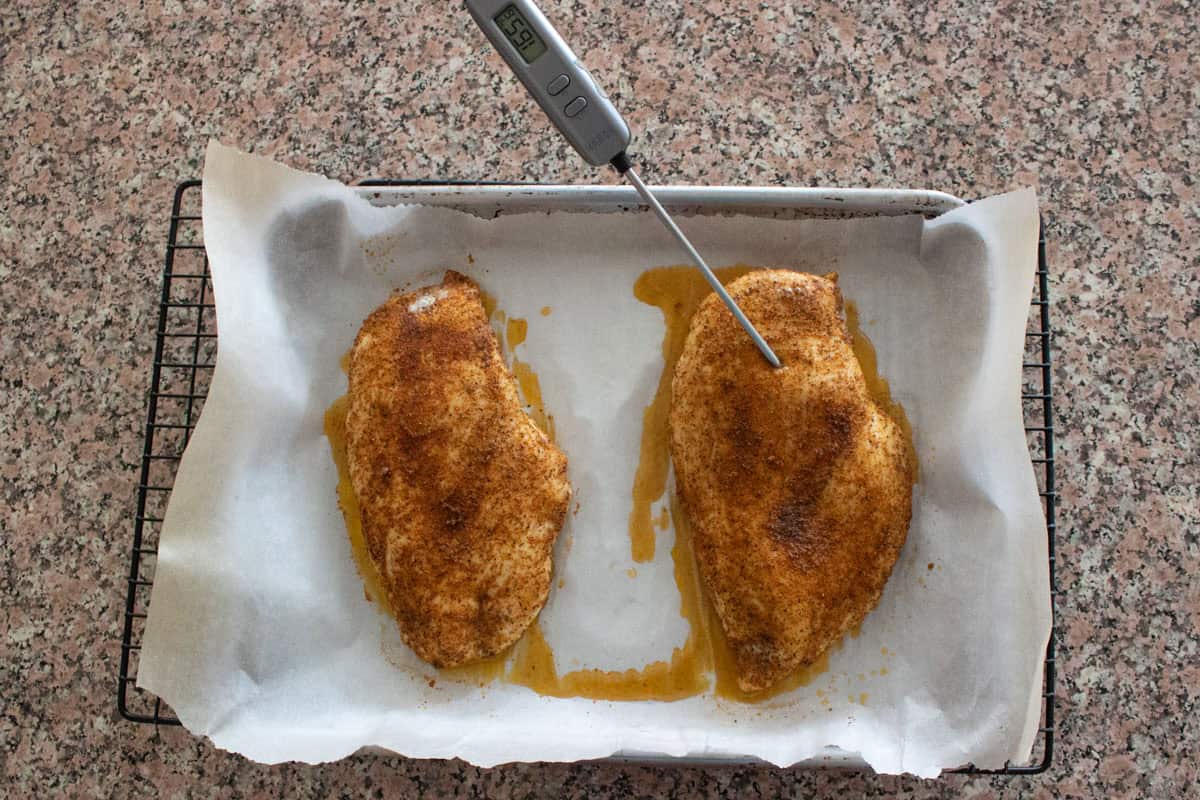
Pull them and use your meat thermometer to check the internal temperature in the thickest part.
If you see temps below 160, it needs more time. For temps in the mid-150s, return to the oven for 1 minute. For high-140s or low 150s, recheck in about 2 minutes. For low-mid 140s give it 3 minutes, and anything below 140 give it 4 additional minutes bake time.
Once you get 160°F in the thickest part, keep the pan out of the oven.
- Pull the chicken when the thickest part reads about 160°F.
- Let it rest, and it should climb to 165°F as it sits.
Carryover cooking is real. Meat continues to rise a few degrees after it comes out of the oven, especially with thinner cuts like chicken breast and fish. A rise of 5-10°F is common, which is why 160°F plus resting gets you to the safe finish.
If any spot you check is below 160°F, it goes back in.
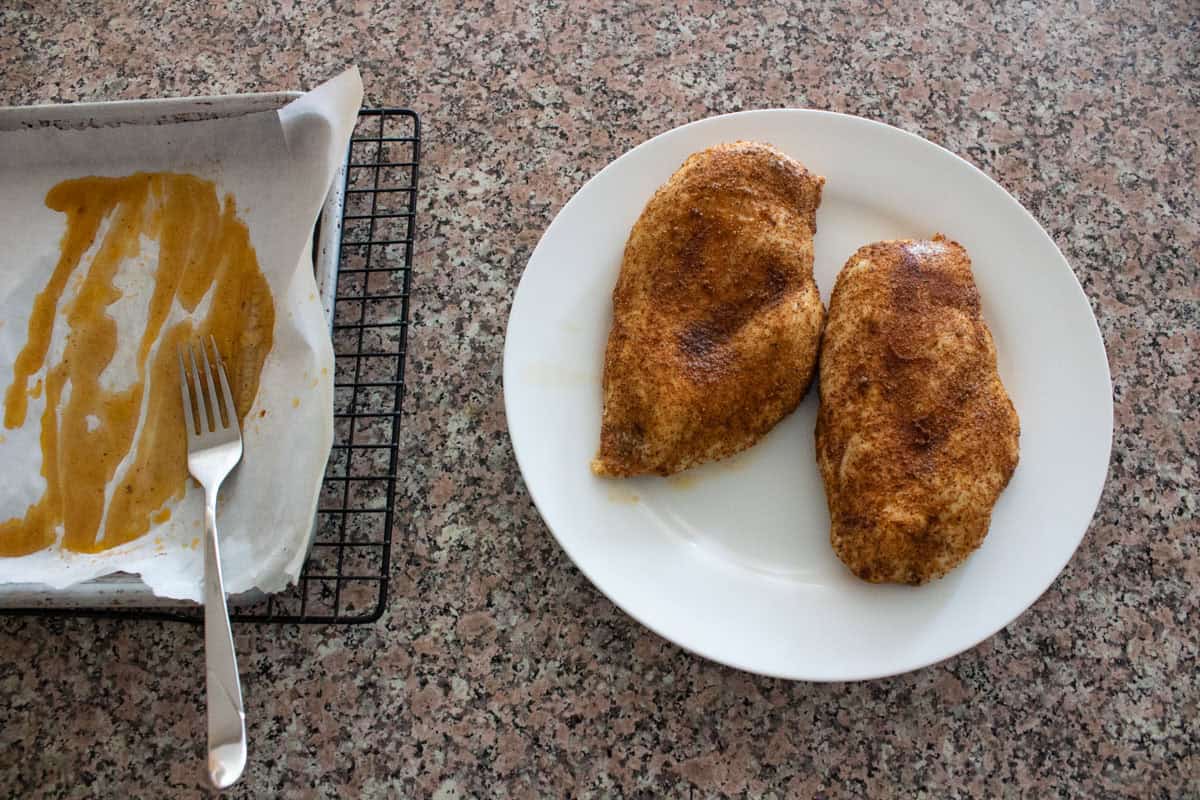
Move cooked chicken to a plate (don’t let it keep cooking)
Once a breast is at 165°F, transfer it off the hot pan to a plate so it doesn’t keep cooking.
Use a clean fork, not the one you used on raw chicken earlier.
A hot pan can keep pushing the temp up. That can be helpful when you pull at 160°F, but if you’re already at or above 165°F, get it off the pan so it doesn’t drift higher.
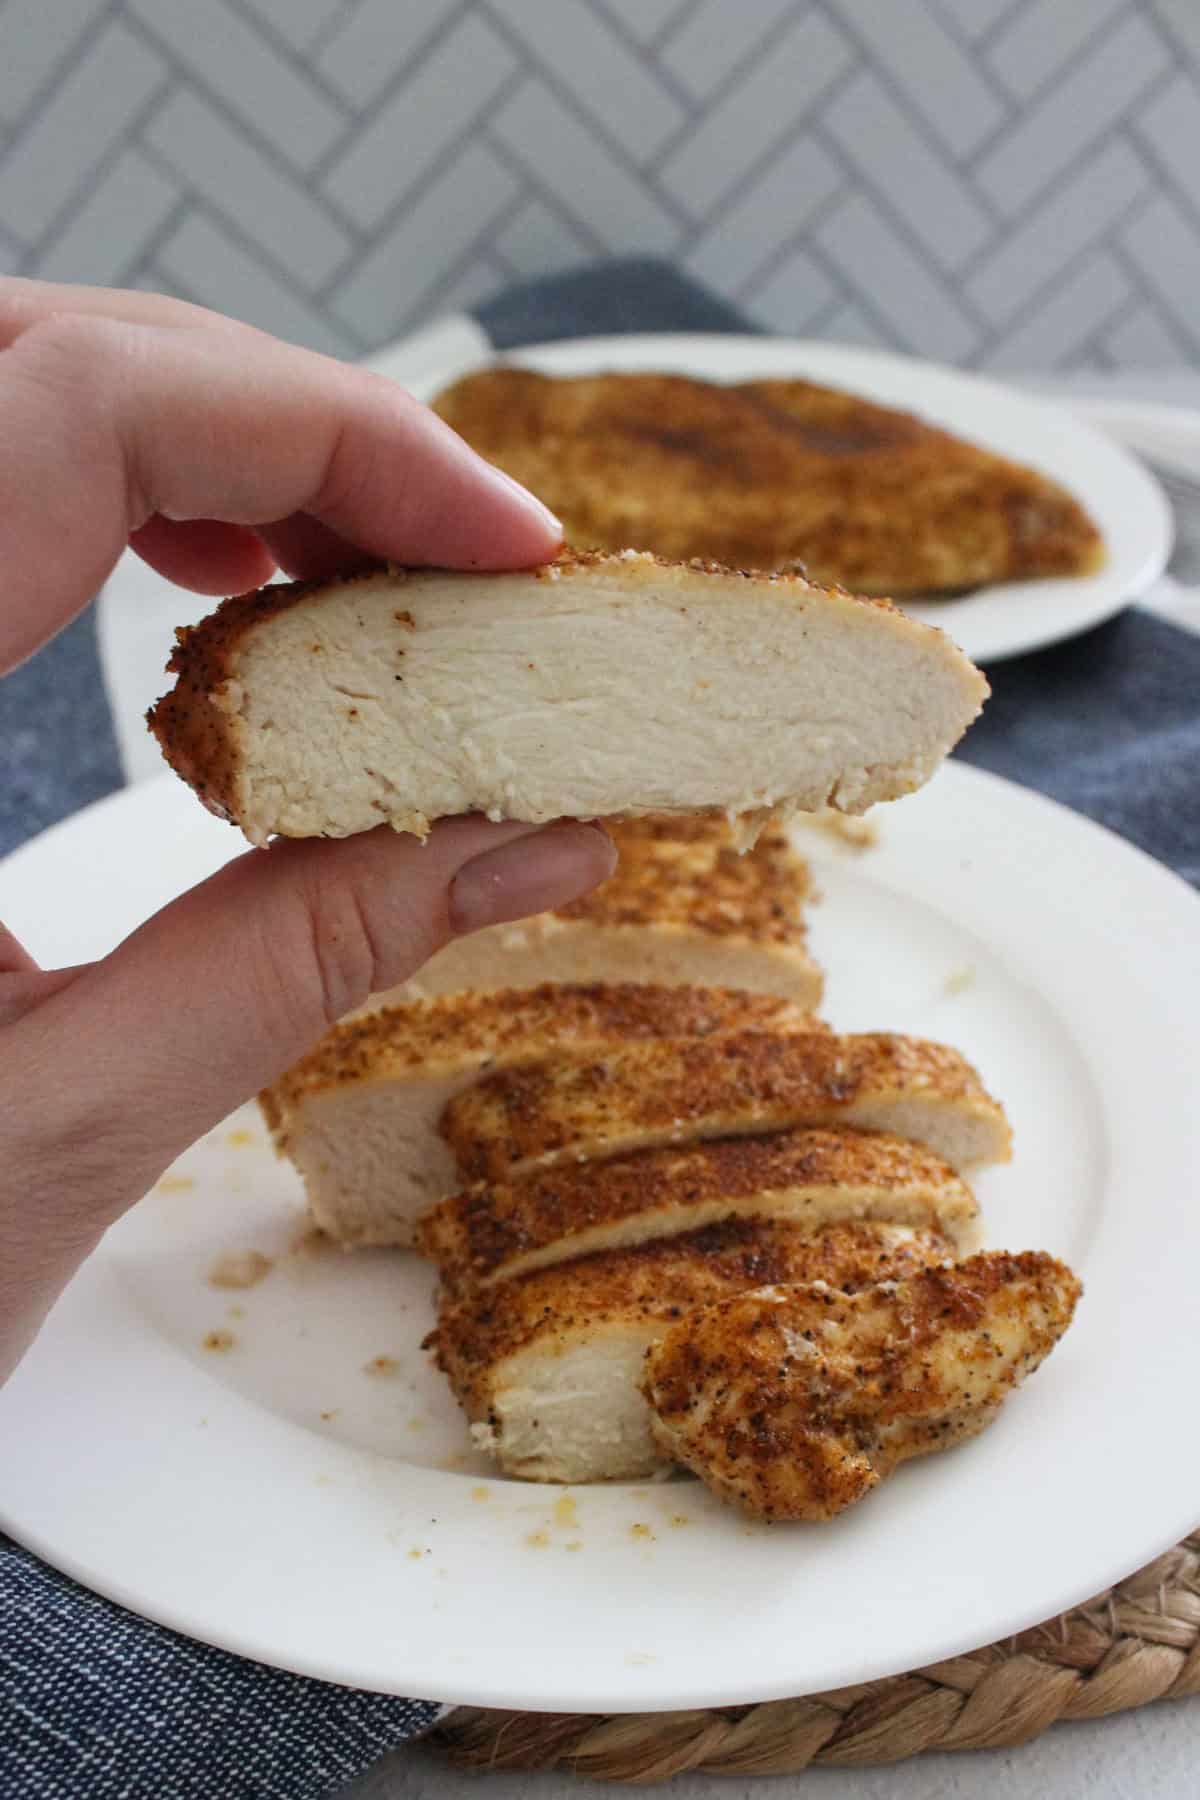
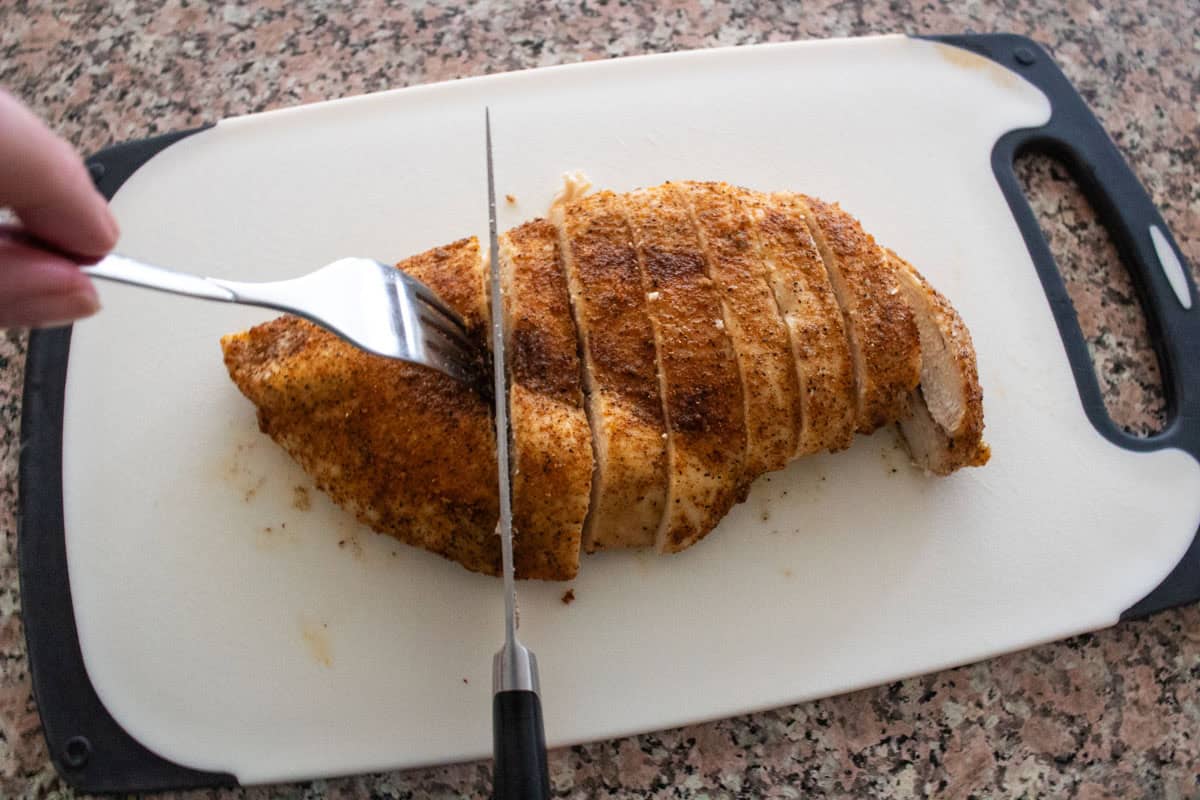
Rest and Slice
Rest the chicken for 5-10 minutes, optionally tented loosely with aluminum foil.
When you slice too early, juices run out onto the board and you lose moisture fast. Resting gives the juices time to redistribute inside the meat.
When slicing, cut against the grain. Chicken breast grain runs lengthwise, so slice across it, not along it. This makes each bite more tender.
If you’re doing meal prep, slicing after resting also helps it cool faster, which helps you get it into the fridge sooner.
Ways to use this chicken all week
- Salads
- Wraps and sandwiches
- Pasta salad
- Casseroles
- Protein bowls
It’s seasoned to fit almost anywhere, or you can have it as dinner with one of your favorite side dishes right away!

FAQ
If you’re newer to roasting chicken breast, yes. Chicken breast can be golden brown early, so without a thermometer the best check is cutting it open to see that the juices run clear- but that costs you the juices that make juicy chicken! A basic instant-read meat thermometer removes guesswork, and it keeps you from overcooking “just to be safe.” You don’t need an expensive one.
Because the internal temperature keeps rising while the chicken rests. Pulling at about 160°F helps you land at 165°F after resting, without drying out the meat.
Many baked chicken breasts take around 18 to 20 minutes, but thickness changes the cooking time. Start checking at 18 minutes, then add a couple minutes at a time until the thickest part hits 160°F.
Yes. Use your favorite oil and all purpose seasoning. The seasoning blend here is a simple salt and pepper base with garlic, onion, and paprika. It's also great with kosher salt or smoked paprika.
Enjoy!
Juicy baked chicken breast comes down to a few repeatable habits: flatten for even cooking, bake at 400°F, and trust a thermometer. Pulling at 160°F and rest the chicken to 165°F gives you tender chicken that’s moist and ready for side dishes like salads or pasta salad. Try it once, and it’s hard to go back to guessing by time alone.
📖 Recipe
Roasted Chicken Breast at 400
Equipment
- Meat thermometer
- Rimmed baking sheet sized for the amount of chicken you use
- cutting board wash between raw and cooked if using the same one
- Meat tenderizer or rolling pin, or heavy canned good
- Parchment Paper
- Plastic wrap
- Pastry brush and fork optional, for seasoning without touching raw chicken
Ingredients
- 1.5 lb Chicken breast
- 1.5 tablespoon All purpose seasoning I used a blend of salt, pepper, onion & garlic powders, and paprika
- 1 tablespoon oil of choice, I used avocado oil
Instructions
- Preheat oven to 400°F (205°C). Line a rimmed baking sheet with parchment paper.
- Pound chicken to an even thickness (focus on the thick end).
- Rub chicken with oil, then coat both sides with seasoning. Place on the pan.
- Bake 18 to 22 minutes, depending on thickness. Check the thickest part with an instant read thermometer. Pull at 160°F.
- Rest chicken breast, transferring to a plate once it hits 165°F. After 5-10 minutes, slice against the grain and serve.
Notes
- Don’t skip flattening. Even thickness prevents the thin end from drying out.
- Thermometer = best results. Color is not a reliable doneness check for chicken breast.
- Carryover cooking matters. Pulling at 160°F plus resting lands you at 165°F without overcooking.
- If it’s under 160°F: return to oven and recheck every 1 to 3 minutes.
- Avoid overcooking on the pan: move chicken off the hot baking sheet once it hits temp.
- Seasoning swaps: Use any chicken seasoning blend you like (Italian, Cajun, taco, lemon pepper).
- Storage: Cool, then refrigerate airtight for up to 4 days. Great for salads, wraps, bowls, and meal prep.
Nutrition
Nutrition information is provided as a courtesy and is an estimate. It is recommended to use your preferred calculator with the actual ingredients you use for optimal accuracy.

Deb says
Thanks for all the great tips! This will make roasting chicken breast so much easier. If I make up a big batch, does it freeze well?
Anne Aslanides says
Thank you Deb! It does freeze well, it's best frozen in portion sizes you'll use, and either vacuum sealed or in a zip top bag with as much of the air removed as possible to prevent freezer burn.
Randy says
your insistence on taking it to 160* in the oven shows your not a great cook. 153* for 1 full minute is just as safe and a better chance of juicy breast. the rest period will take it to 155 or more. Even the USDA admits their "safe" level is a lot higher than necessary.
Anne Aslanides says
Hi Randy! It sounds like you're familiar with the 7-log bacteria reduction temperature tables, which are a great tool. And yes, chicken can be safe at temperatures below 165°F. However, for a typical home cook baking chicken breasts in the oven, that approach relies on accurately finding the coldest spot in the meat, having a well-calibrated thermometer, and ensuring the chicken remains at that temperature long enough. Since this recipe is written for the everyday busy cook trying to get dinner on the table, I recommend 160°F followed by a rest.
Experienced cooks who are comfortable using lower temperatures and accounting for hold times are certainly welcome to do so (your kitchen, your rules!), but my goal is to provide instructions that are simple, reliable, and easy for a wide range of my fellow default cooks to follow successfully.