
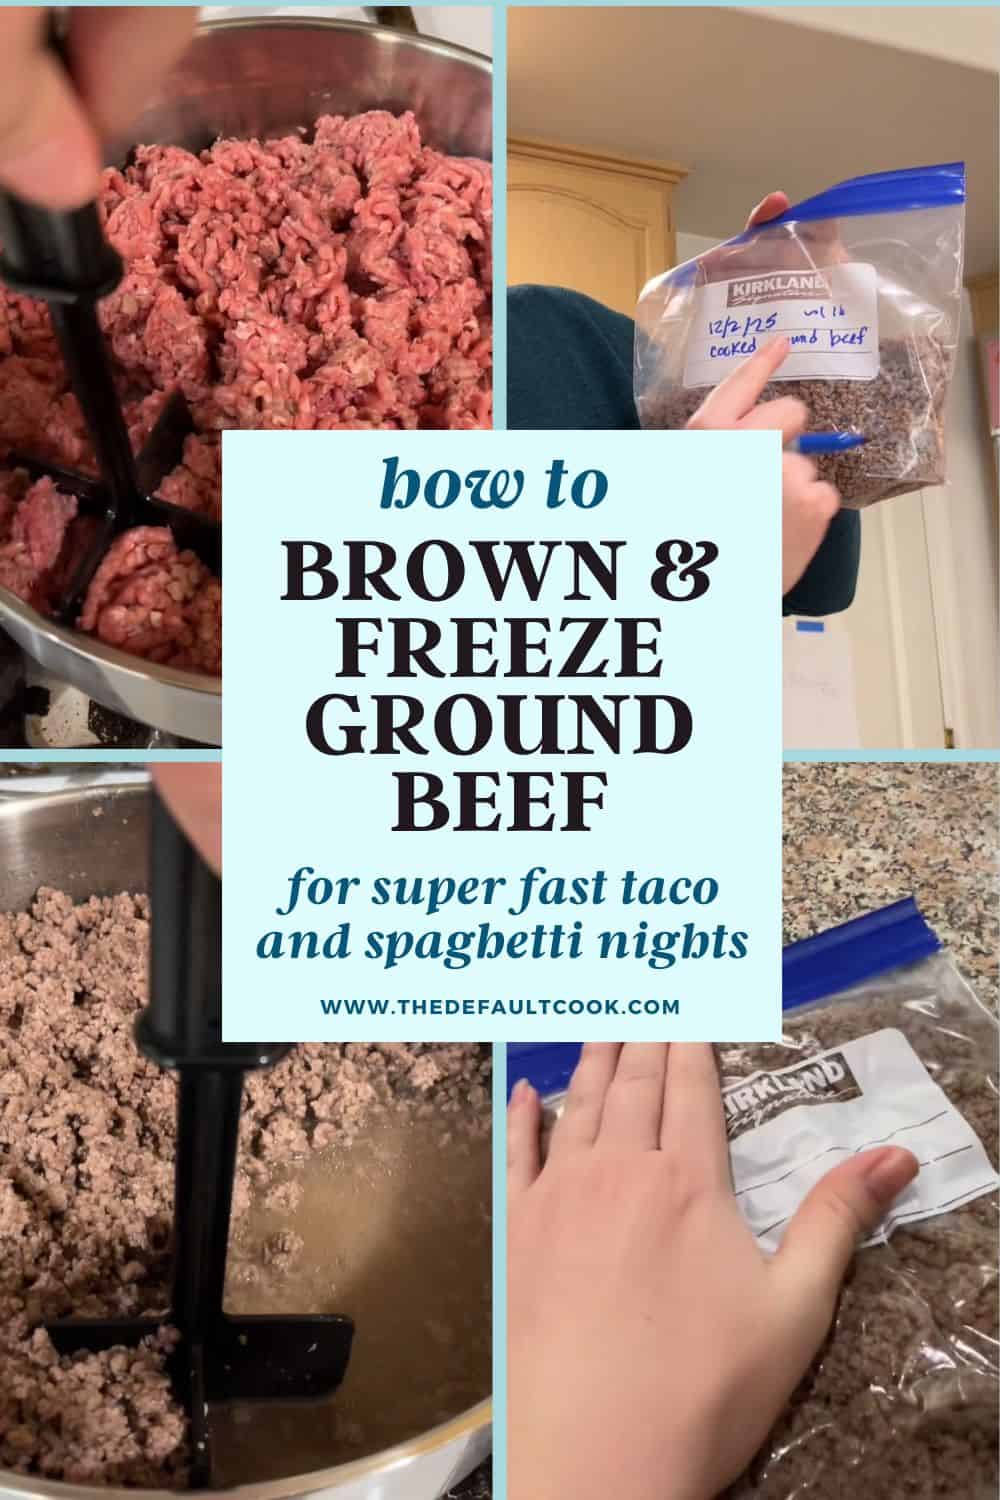
If weeknights at your house feel like a race against the clock, this simple ground beef prep routine will save you over and over again. Cook once, freeze smart, and future you can have tacos, spaghetti, or casseroles on the table in minutes instead of stressing at 5 p.m.
Today, we will walk through how I brown, drain, cool, portion, and freeze ground beef so it is ready to grab for fast dinners. If you like this kind of shortcut, you might enjoy more of my favorite simple kitchen tips.
Why Brown and Freeze Ground Beef Ahead of Time
On busy nights, the hardest part of dinner is often waiting for meat to cook. When the ground beef is already browned and drained, you skip that whole step and go straight to building the meal.
Pulling it out of the freezer already browned makes dinner so fast. You can go from frozen meat to dinner on the table in about 20 minutes, which is pretty close to drive-thru speed.
Some of my favorite ways to use prepped ground beef are:
- Tacos or taco salads
- Spaghetti or any red sauce pasta
- Sloppy joes
- Quick skillet meals with rice or potatoes
You just thaw, reheat, season, and build your meal. Or, add it in the morning to a slow cooker dish and come home to a waiting dinner.
Portioning for Multiple Uses
While you can certainly brown all your meat, you have options. In the video, I start with one large package of ground beef and use it for two different things.
- About two-thirds of the package gets browned for the freezer.
- The remaining third is set aside for meatloaf for that night’s dinner.
I do this by eyeballing it. I grab a knife, make a rough cut across the package, and call that line my divider. If you like precise portions, you can use a kitchen scale to split it by pounds or grams.
Also, if your stove is a little dirty, that is real life. People live here. Meal prep does not have to look perfect to be helpful.
The main idea is to think ahead. One package of beef can give you tonight’s meal and a head start on a future night.
Tools You Will Need
You do not need fancy gear to brown ground beef. A few simple tools are plenty:
- A large skillet or sauté pan
- A regular spatula or a wooden spoon- or you can optionally use a specific meat masher tool
- Large spoon or scoop-style spatula to transfer meat once browned
- Zip top bags or other airtight freezer safe containers
No other ingredients are needed yet. I recommend to brown the meat plain so you can season it flexibly later for tacos, pasta, casseroles, and more.
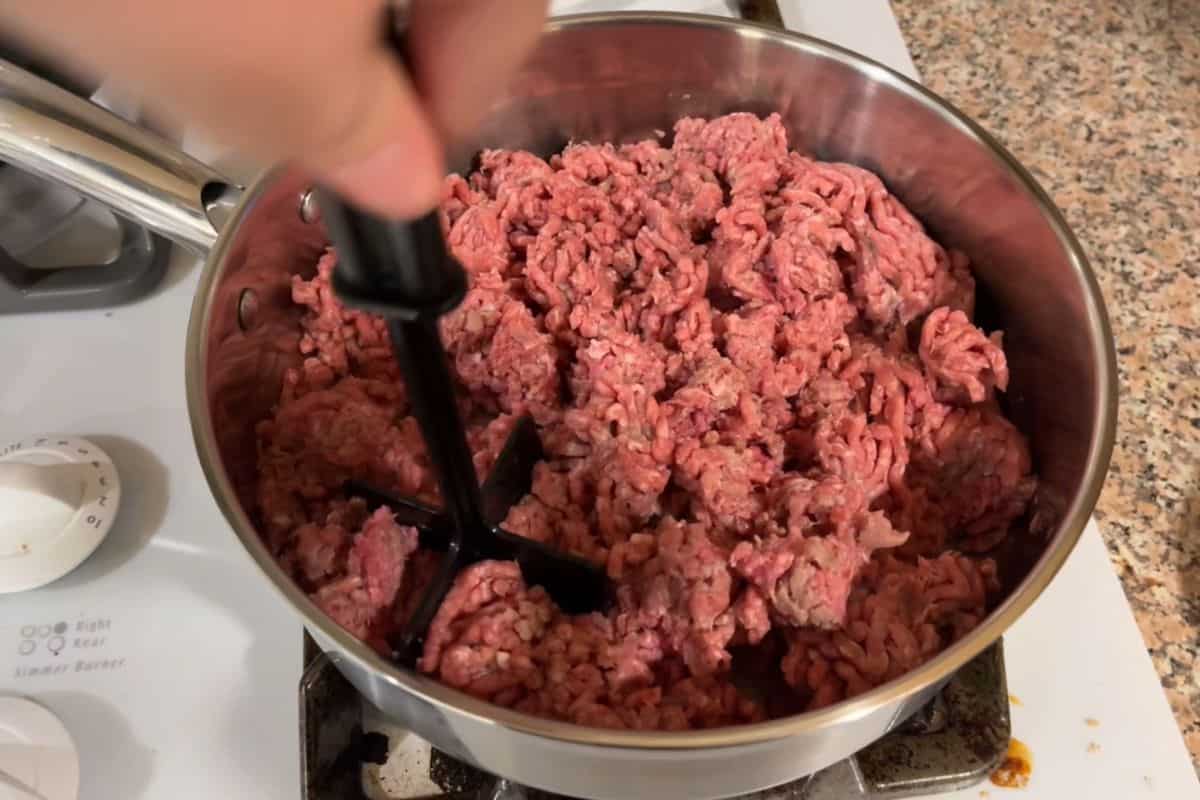
How to Brown the Ground Beef
Once your tools are ready and your hands are washed, it is time to cook.
Add the portion of ground beef you are browning straight into the pan. Turn the heat to medium or medium-high. As the meat starts to cook, begin breaking it up with your spatula, spoon, or meat masher.
You do not have to stir nonstop. Just:
- Break up large clumps as they form.
- Stir often enough so the bottom does not burn.
- Spread the meat out so it cooks evenly.
Cook until there is no pink left. You want fully cooked ground beef for the freezer so it is safe and ready to reheat later.
You are not trying to get it super crispy right now. If you want crispy taco meat or browned bits in a skillet dish, you can do that later when you reheat it. Think of this as the base layer of cooking.
Once everything in the pan is brown and cooked through, you are ready to deal with the grease.
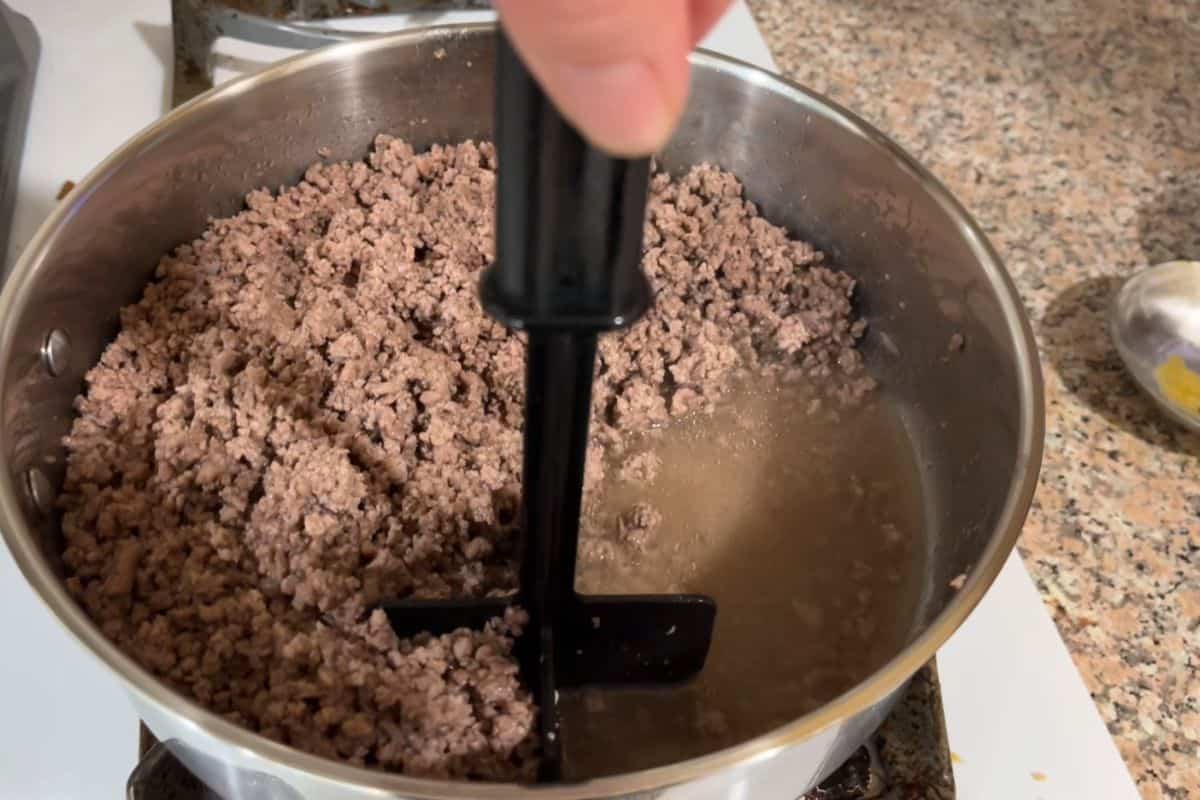
Draining the Grease Like a Pro
Instead of pouring hot grease into a jar or down the drain (please do not do that), I soak it up right in the pan with paper towels.
Here is the method:
- Use your spatula to push the cooked meat to one side of the pan.
- Leave the other side mostly empty so the fat can pool there.
- Tilt the pan slightly so the fat runs into that open area.
- Take a folded paper towel and carefully lower it into the pool of grease. Keep your fingers away from the hot fat.
- Use another spatula or tongs to guide and press the paper towel so it soaks up the grease.
- Lift the soaked towel out and drop it into a bowl set aside for used towels.
Repeat with fresh paper towels until you have most of the grease soaked up.
In the video, I am working with 80/20 ground beef. With that mix, I used about four paper towels. If you use leaner beef, like 85/15 or 90/10, you will probably need fewer towels.
You do not have to remove every drop. You do not want large puddles in the pan, but small shiny spots are fine. A little fat helps keep the meat moist and tasty. We just do not want greasy food.
Once it looks good to you, turn off the heat and give everything a quick stir so the meat is evenly coated with the small amount of fat that is left.
Letting the Meat Cool Before Freezing
At this point, the meat is fully cooked and drained. The next step is to let it cool.
Do not put hot meat straight into plastic bags or containers for the freezer. It can soften the plastic, create too much steam, and lead to more ice crystals later.
Instead:
- Leave the pan on a cool burner.
- Spread the meat out and stir occasionally so it cools faster.
- Let it sit until it is warm or at room temperature, not hot.
This is a great time to tidy the kitchen, work on another part of dinner, or prep some meatloaf if you saved some before browning earlier. If you do need to step away from the kitchen for awhile, be sure to put the meat into the fridge to make sure it doesn't sit out too long.
Once the ground beef is cool enough to handle comfortably (about 15-20 minutes), you are ready to portion it into bags.

Portioning and Bagging for the Freezer
For storage, I use zip-top freezer bags. Any sturdy freezer bag works.
First, I roughly split the cooled ground beef in half right in the pan. For my family, half the pan is a good amount for one meal. If your household eats more or less, change the portion size to fit how you actually cook.
Think about how you will use the meat:
- A smaller family might want three or four smaller bags.
- A larger family might want one larger bag.
Once you know how many portions you want, scoop the meat into the bags. The curved edges keep the crumbles from falling off the sides, which makes the process faster and less messy.
Fill the first bag with roughly half the meat, then the second bag with the rest.

Labeling, Air Removal, and Freezing Flat
Before you close up the bags, take a minute to label them. Future you will be very glad you did.
Note:
- The date you cooked and froze the meat.
- The contents, usually “Browned ground beef.”
- Optional: an approximate weight if you know it.
The date is the most important part. It helps you use older food first and keeps things from becoming mystery meat at the bottom of the freezer.
Next, push out as much air as possible to cut down on freezer burn. Here is an easy way to do it without any special tools:
- Close the bag about three-quarters of the way, leaving a small opening near one corner.
- Lay the bag flat on the counter.
- Starting at the bottom, gently press the meat toward the top, pushing air up and out through that small opening.
- Close the zipper a little more and repeat until the bag is fully sealed.

You might need to smush and redistribute the meat so it fills the bag in a fairly even layer.
Then, lay the filled, sealed bags flat in the freezer. When they freeze in a flat, thin layer:
- The meat freezes faster and keeps better.
- The bags stack neatly.
- The thin shape lets the meat thaw and reheat much faster later.
After the bags are fully frozen, you can stand them upright like file folders in a bin or basket. It makes it easy to flip through and grab what you need.

Using Your Prepped Ground Beef
Once you have a few bags of browned ground beef in the freezer, dinner becomes much simpler:
- Spaghetti night: Warm the meat, stir in sauce, serve over pasta.
- Taco night: Reheat the meat, season to taste, and set out shells and toppings.
- Casserole night: Mix the meat into your favorite baked dish and pop it in the oven.
You have already done the hardest part on a calm day, so busy nights feel less stressful and more doable. The next time 5 p.m. rolls around, you will be very glad that past you browned, drained, and froze that ground beef.
Leave a Reply