Need an easy weeknight meal that you can toss in the oven on a baking sheet and forget about while it cooks? These savory garlic parmesan chicken drumsticks are a great dinner idea any night of the week. You can have them in the oven in minutes, so you can enjoy a tasty homemade meal without a lot of work.
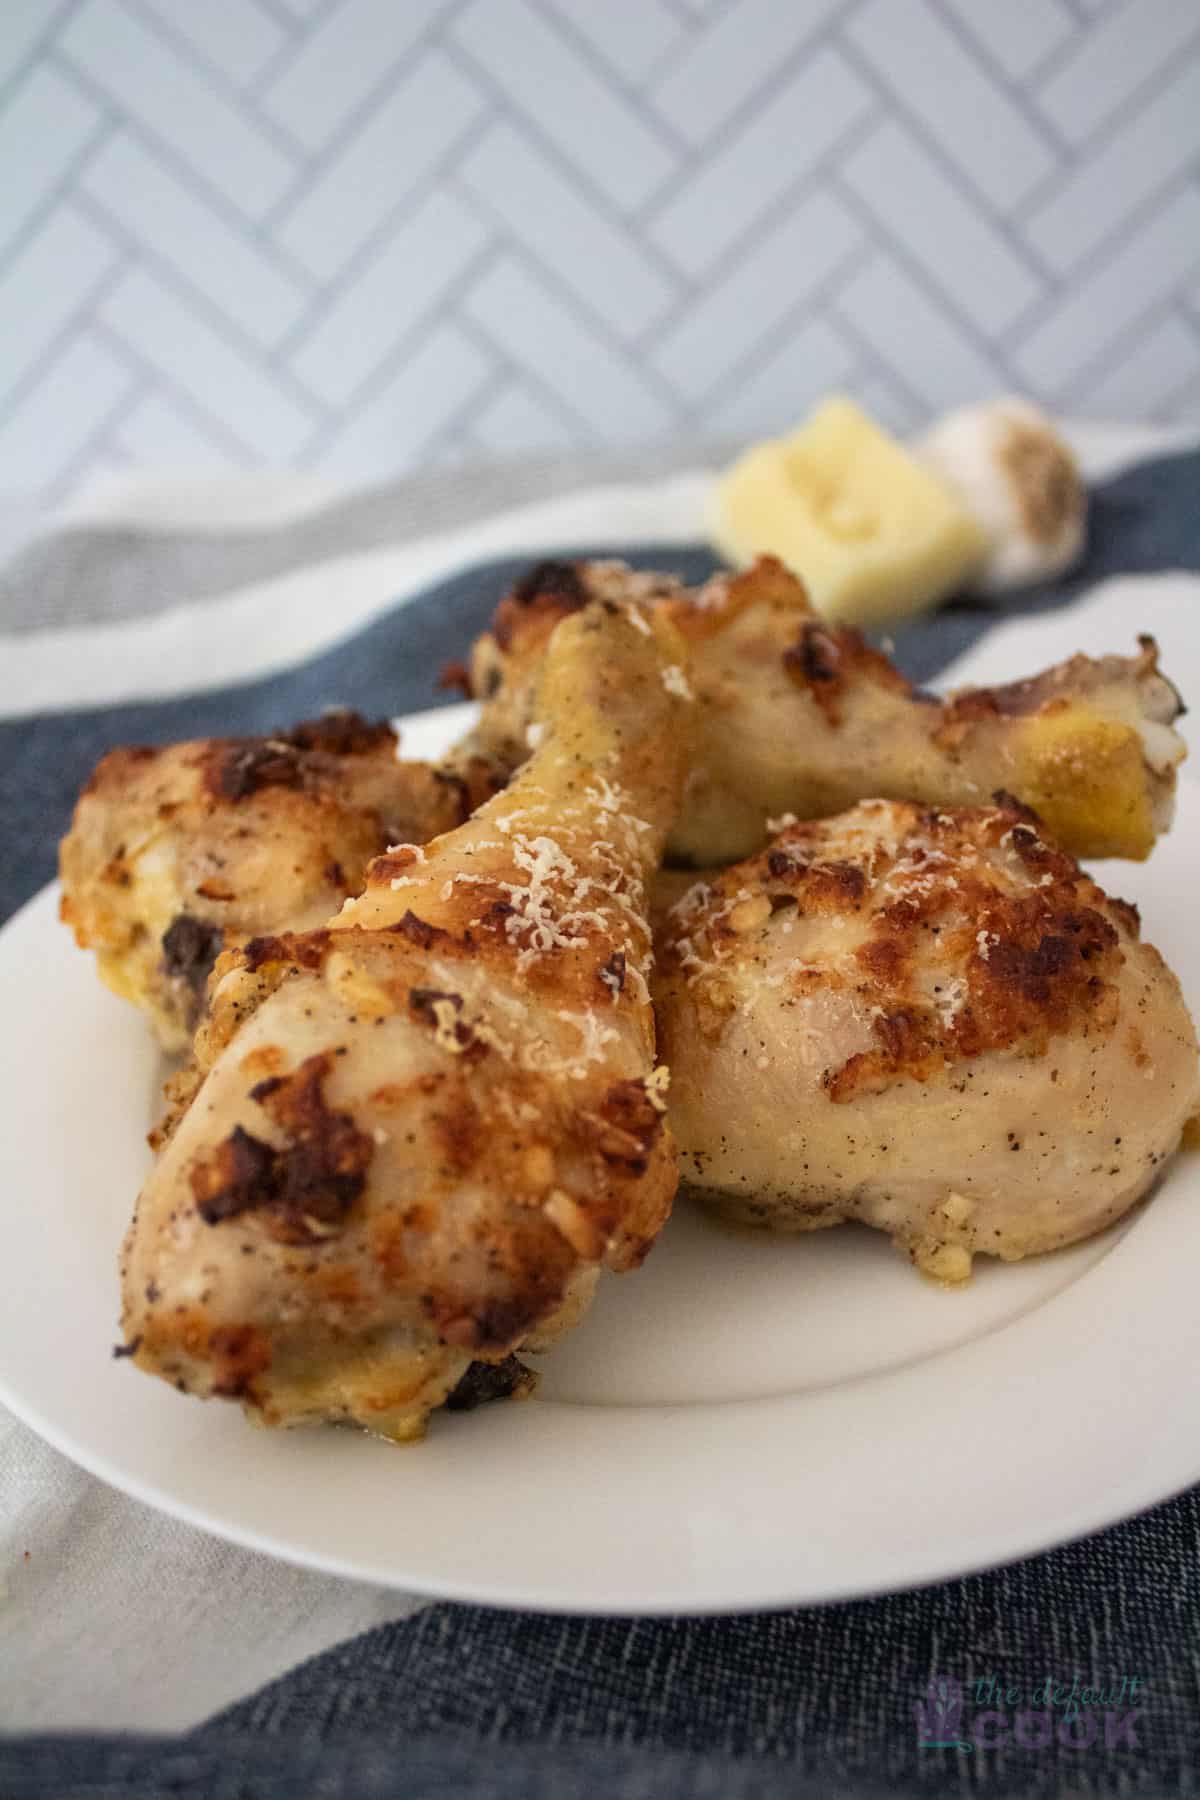
Why You'll Love This Easy Meal:
- Quick Prep - Roasting anything with a bone takes a bit of time, but the hands-on time here is minimal.
- Simple Ingredients - The most "out there" ingredient is greek yogurt, which helps keep our chicken juicy while it cooks.
- Flexible - This is easy to scale up or down, or make some ingredient swaps based on what you have on hand.
- Delicious- Parmesan and garlic are a great flavor pair- no boring chicken here!
Let's get started! Here's what you'll need:
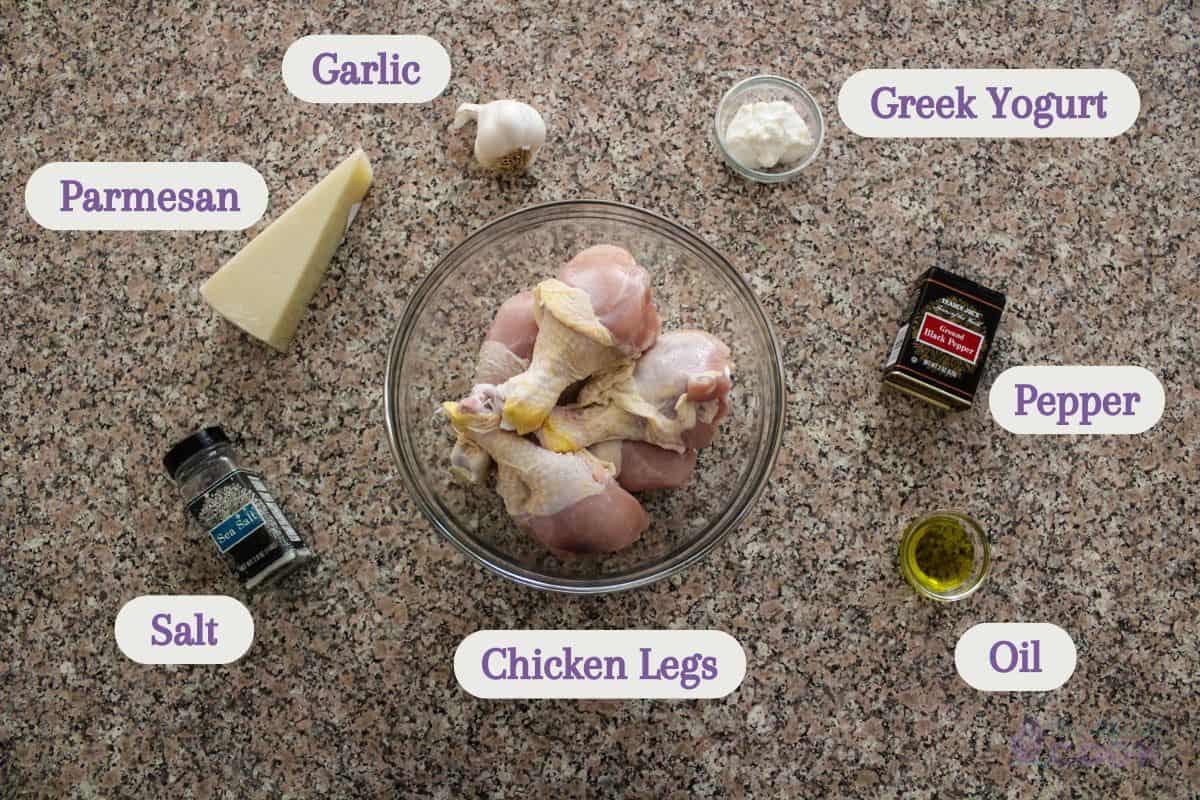
Ingredients:
Chicken Legs- I've done this with chicken thighs as well, and you could realistically use any cut of chicken from chicken wings to chicken breasts. Just keep in mind the cook time can change, boneless will cook faster than bone-in, and smaller pieces faster than say, a whole chicken.
Oil- We want whatever neutral one you have on hand- vegetable oil, canola oil, olive oil, or avocado oil will all work fine. If you don't have any of those you can use melted butter instead.
Parmesan Cheese- It's ideal to shred some off a hunk of parmesan that hangs out around the grocery's deli section, but the pre-shredded bagged parmesan or even the green can will work.
Garlic- You'll get a more bold flavor from fresh garlic cloves, but I've used garlic paste and it was still quite tasty. Garlic powder or pre-minced garlic will work too- I'm a fan of using what you have.
Greek Yogurt- This gives our cheese mixture a little creaminess and acts as a barrier to help keep the chicken legs juicy. If you don't have it in your fridge, sour cream or mayo will do the same job.
Black Pepper & Sea Salt- We need to season our chicken with the basics too!
Equipment:
We'll need a sheet pan or baking pan to bake these on, and you'll want to either grease it with nonstick spray or line it with aluminum foil.
For prep we'll need a knife and cutting board, and a mixing bowl to combine everything in. If you need to shred your parmesan (which is ideal, but they'll be tasty with preshredded too) you'll want a grater- I like the handheld rotary ones for parmesan. You'll also want a spatula or something to stir with, unless you prefer to use your hands. A meat thermometer is also handy to make sure your chicken is fully cooked.
How to Make These Delicious Garlic Parmesan Chicken Legs
Step 1: Preheat & Prep
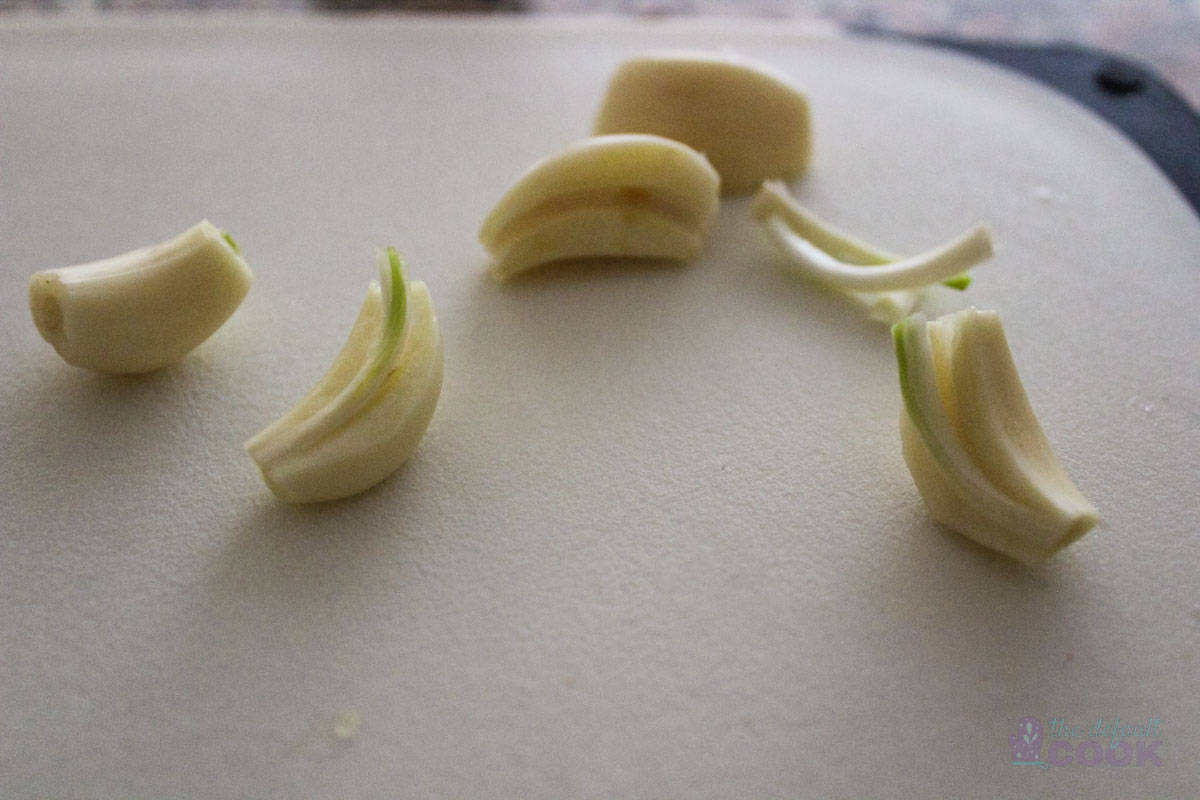
First things first, preheat your oven to 400 degrees F so it'll be ready. If you're mincing and shredding, let's go ahead and do that too. We'll be using ⅓ of the parmesan each time we do, so you can either shred all of it and separate it out, or just eyeball it. For the garlic, if you notice green in the centers like I have below go ahead and remove those and toss them- the garlic is still OK, but the green parts are bitter so we don't want to use them. This is also a good time to get your pan ready- either lining it with foil or spraying it with some oil or nonstick spray.
Step 2: Mix & Arrange
In a large bowl (mine here is borderline) add ⅓ of the parmesan, and all of everything else: the garlic, oil, greek yogurt, salt, and pepper. It's slightly easier to mix all of those first and then add the chicken legs to coat them, but you can do them all at once- either way works just fine. Once the legs are all evenly coated in your yogurt cheese and spice mix, lay them out in a single layer on your baking sheet.

Step 3: Top & Bake
Wash your hands and grab another third of the parmesan- half of what's left- and sprinkle it on top of the chicken legs. Pop the tray in your preheated oven and let it cook until the parmesan on top is golden brown. The thickest piece should be 165 degrees, and the juices all run clear.

Step 4: Garnish & Enjoy!
Top the legs with the last ⅓ of parmesan cheese, and enjoy a delicious dinner! Store any leftovers in an airtight container in the fridge and enjoy within three days.

FAQ
Absolutely! The only drawback to the air fryer can be size, but if you can fit your legs in yours it's a great option. You'll want to reduce the bake time by about a third, so check on them after 25 minutes to see if they're done or need a few minutes more.
Yes. While they don't need traditional marinating time, it certainly doesn't hurt. You can coat the chicken and store it in a bag or other airtight container in the fridge for up to a day, until you're ready to bake.
No, the USDA recommends against it. Cooking chicken fully is the best way to get rid of any bacteria on raw chicken.
More Easy Recipes
Need another easy chicken drumstick recipe? Try these lemon pepper chicken legs!
Looking for side ideas? Potatoes always go well with chicken, no matter if you prefer mashed, hasselback, or parmesan roasted slices. If you have some store bought pizza dough this shortcut focaccia bakes at the same temperature. For a super fast side, try air frying canned green beans.
Enjoy!
The next time you have chicken drumsticks be sure to give these I try! I hope you love them, be sure to come back and let me know how they turned out for you.
📖 Recipe

Garlic Parmesan Chicken Legs Recipe
Ingredients
- 2 lb Chicken drumsticks bone-in, skin-on
- 2 oz Parmesan cheese divided
- 4 cloves Garlic
- 2 tablespoon Greek yogurt
- 1 teaspoon Salt
- ½ teaspoon Black pepper
- 1 tablespoon Oil
Instructions
- Mince garlic and shred Parmesan cheese. Set aside two-thirds of the cheese, placing the remaining one third in a mixing bowl. Preheat oven to 400 degrees F.
- Add all remaining ingredients (except reserved cheese) to the mixing bowl and stir until well combined.
- Place chicken drumsticks on a lined or greased baking tray and use half the remaining parmesan to top each leg. Bake for 40-50 minutes, until the chicken reaches 165 degrees throughout.
- Garnish with remaining cheese and serve hot.
Podcast
Notes
Nutrition
Nutrition information is provided as a courtesy and is an estimate. It is recommended to use your preferred calculator with the actual ingredients you use for optimal accuracy.



Leave a Reply