
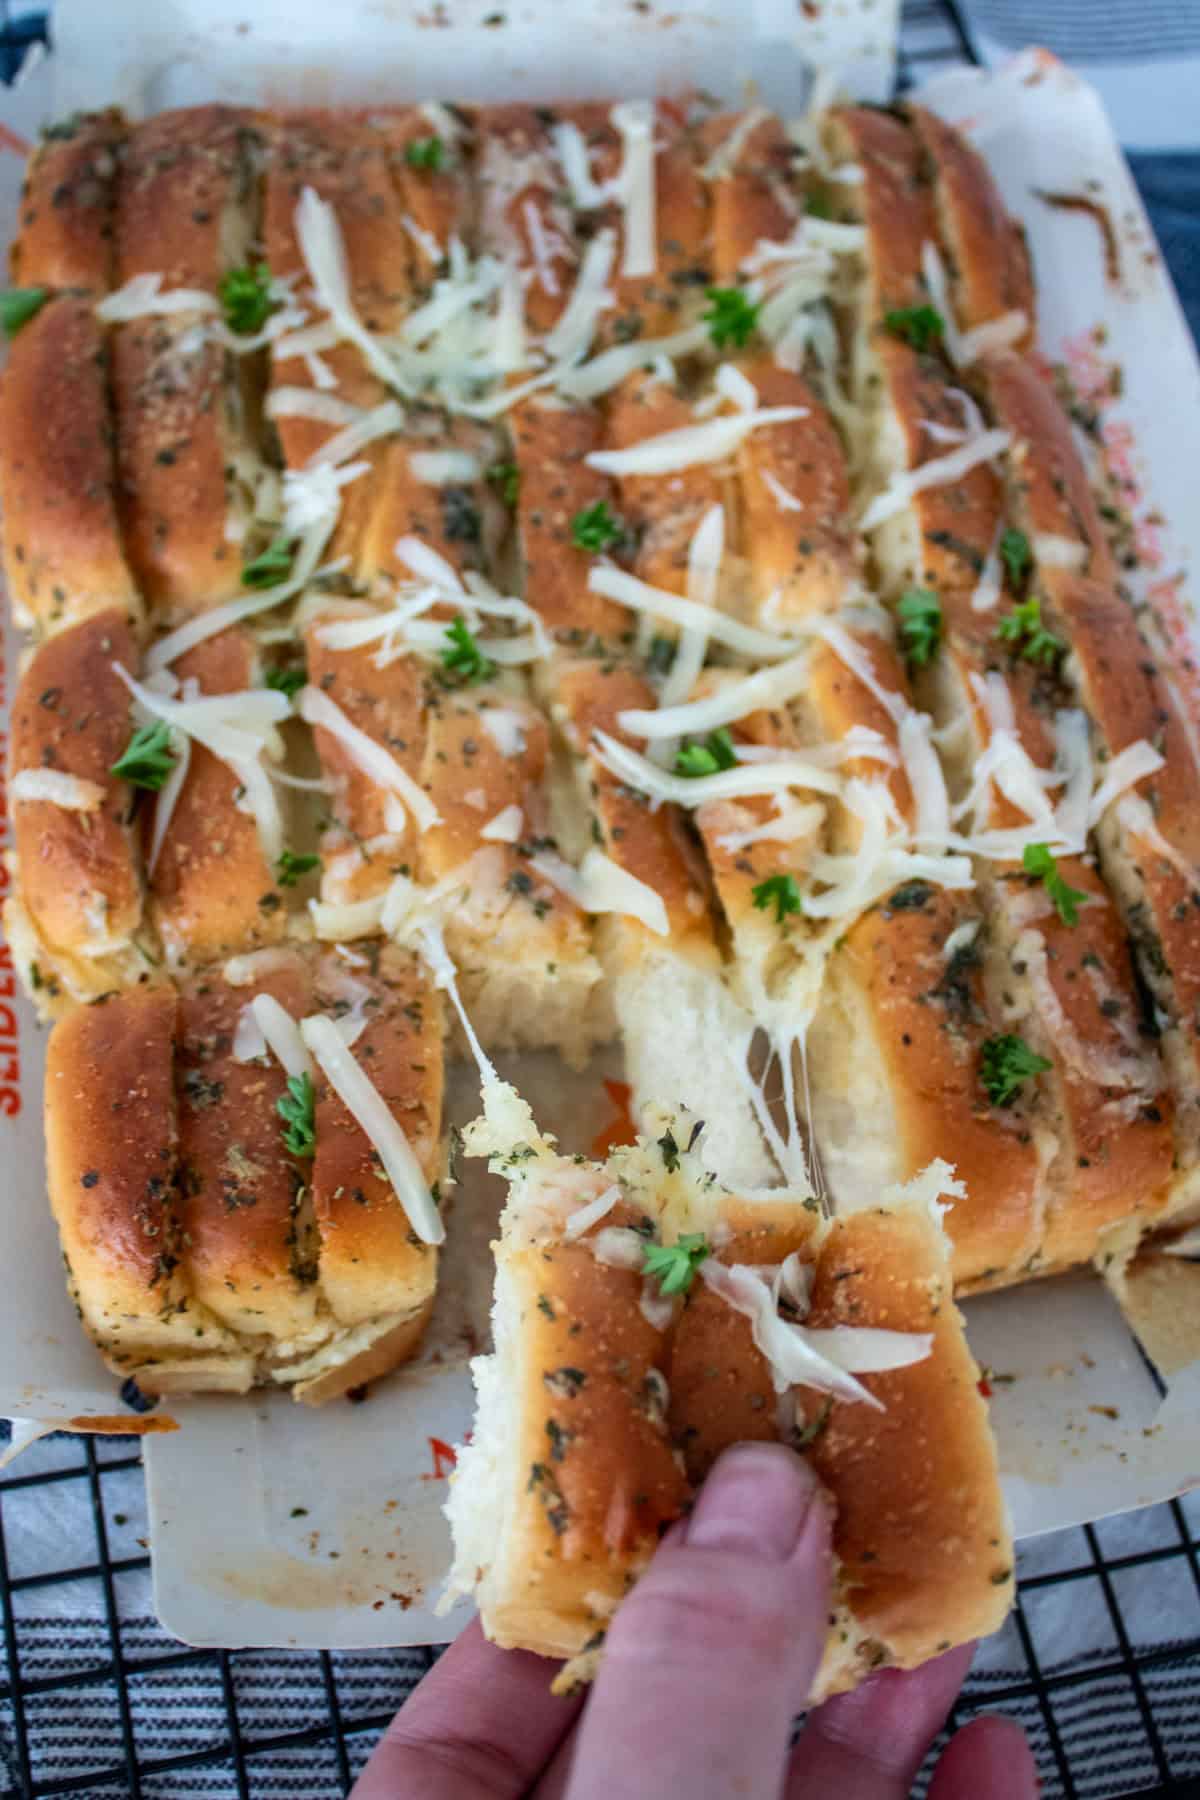
Step up your dinner roll game with this Hawaiian Roll Garlic Bread recipe! Stuffed with mozzarella cheese and brushed with easy herbed garlic butter, these soft, fluffy, and buttery rolls make the ultimate easy side dish. Ready in a few steps in less than 20 minutes!
Why You’ll Love This Easy Recipe with Hawaiian Rolls:
- Comforting: If you like garlic bread, you’ll love Hawaiian roll garlic bread! The bread is light and fluffy, and the cheese is ultra-melty, making for mouthwatering cheese pulls and a next-level comfort food experience!
- Versatile: Serve this Hawaiian roll recipe idea with everything from pasta and lasagna to grilled chicken or sous vide tri-tip steak. There’s never a bad time to enjoy it!
- Simple and Quick: Ready in just a few simple steps and only 10 minutes of baking time, this is one of my favorite last-minute side dishes.
What Are Hawaiian Rolls?
Hawaiian rolls are light and fluffy sweet bread rolls introduced by King’s Hawaiian Brand in Hilo, Hawaii, in the 1950s. The rolls grew quickly in popularity, and the company began mainland distribution in the 1970s.
Since then, you can find these golden, pull-apart rolls in most major grocery store chains. Other name brands and store brands now also sell versions of the Hawaiian sweet bread rolls and you can also make them from scratch.
Let’s Get Started! Here’s What You’ll Need:
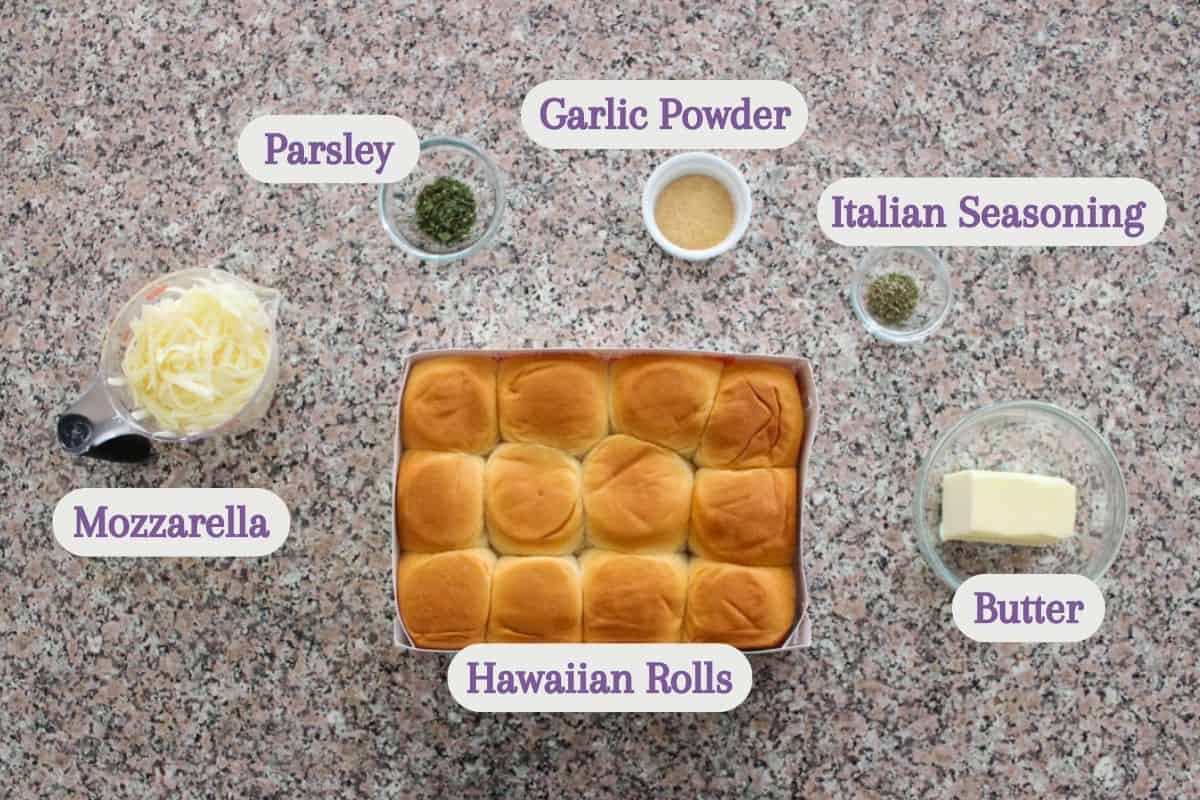
Ingredients
Hawaiian Rolls - I recommend and use King’s Hawaiian rolls whenever possible, though I’ve also had good experience with Trader Joe’s and other grocery store brands. You will need 1 dozen or 12 rolls.
Butter - Salted butter is best for Hawaiian rolls garlic bread, as the saltiness complements the bread’s sweetness. If possible, use good-quality butter.
Mozzarella Cheese - You will need 4 ounces or 1 cup of shredded mozzarella. Freshly shredded cheese melts the smoothest, though pre-shredded also works well.
Dried Herbs - Dried parsley, garlic powder, and Italian seasoning add delicious dimension to the melted butter. Always use spices with a good expiration date for the best flavor.
Equipment:
Measuring Cups & Spoons - These are used to measure the butter and dried seasonings.
Sharp Knife - A serrated bread or steak knife works the best, as it cuts the bread without crushing it.
Microwave-Safe Dish - Use this to melt the butter in the microwave. Alternatively, you can use a microwave-safe measuring cup, or you can melt the butter in a small saucepan on the stovetop.
Pastry Brush - This allows you to spread the garlic herb butter over the rolls evenly without ripping the bread.
Rimmed Sheet Pan or Oven-Safe Dish - I recommend a small rimmed sheet pan or 9x13-inch baking dish to accommodate the bread and catch the butter, preventing it from leaking into the oven.
How to Make Hawaiian Roll Garlic Bread
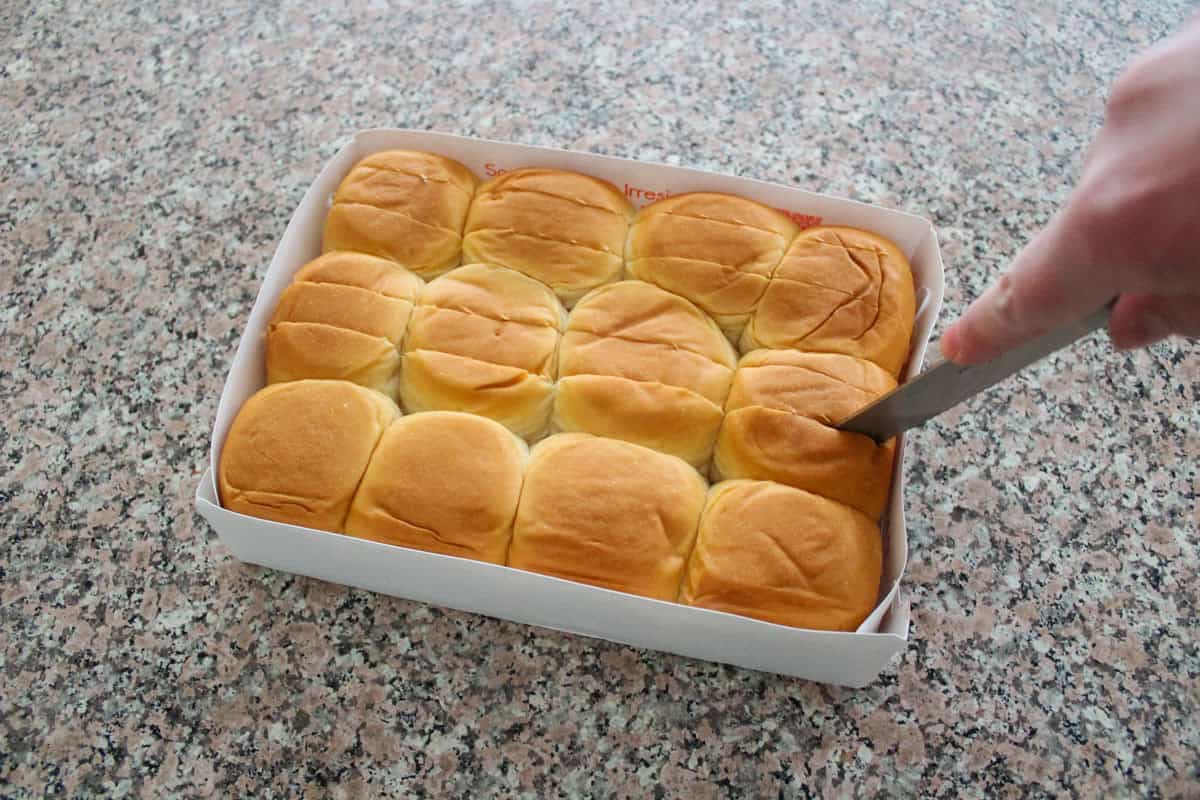
Prepare the Rolls and Oven
Preheat the oven to 350°F. Gently cut two length-wise slits through each row of fluffy hawaiian rolls, cutting most but not all of the way through them.
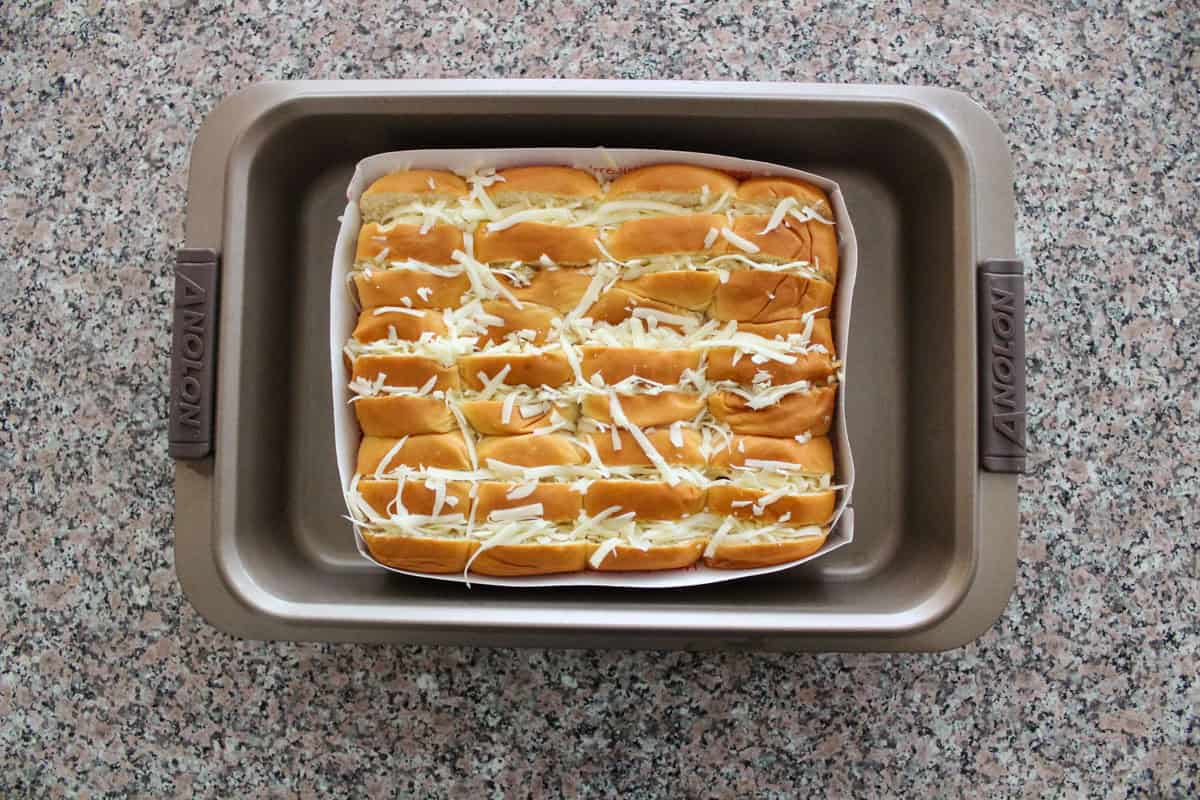
Fill with Mozzarella
Evenly distribute the mozzarella cheese into the bread slits, gently tucking it in.
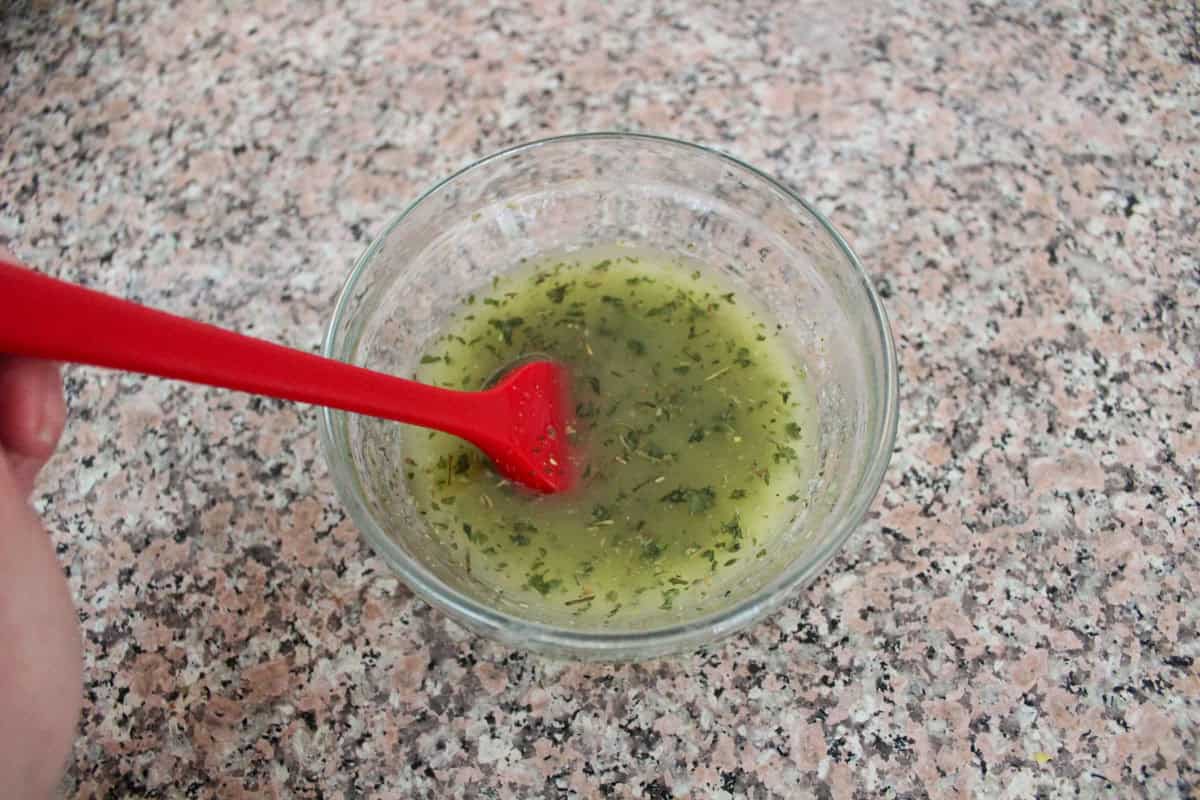
Make Garlic Butter
Melt the butter in a microwave-safe dish. Stir in the dried parsley, garlic powder, and Italian seasoning until combined.
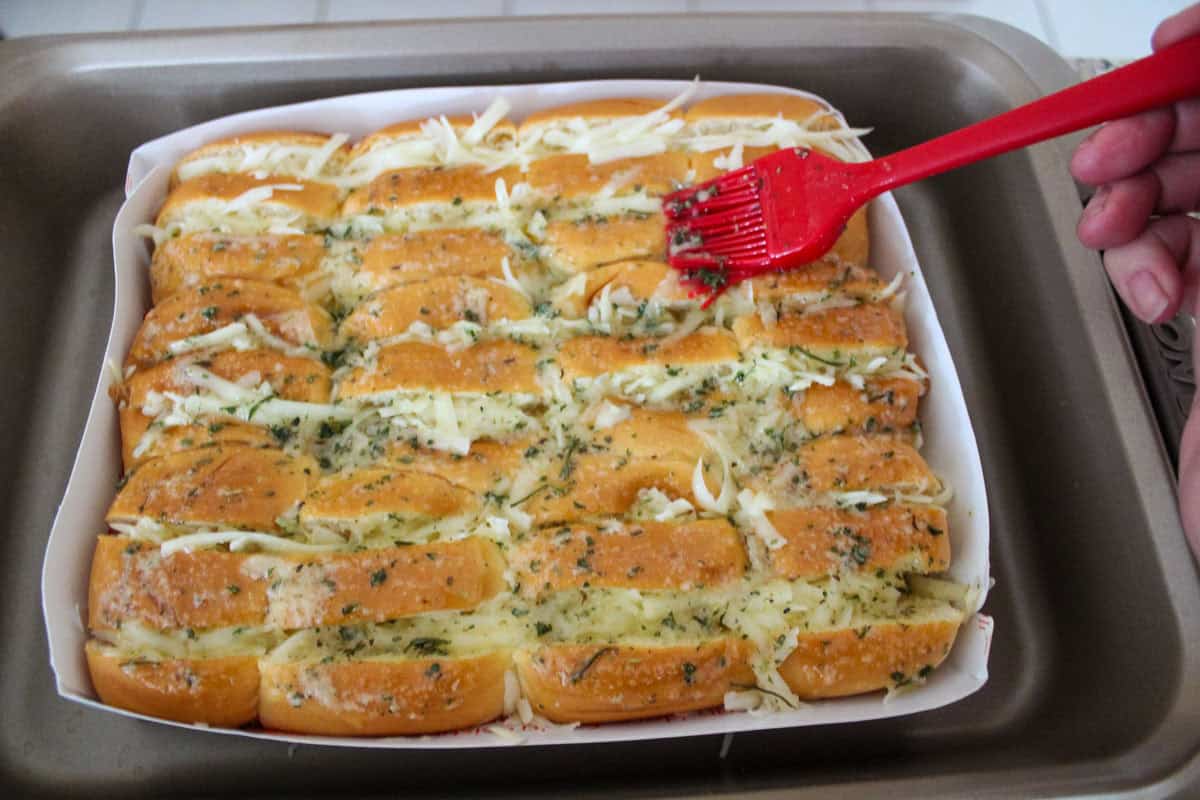
Brush the Rolls with Garlic Butter
Evenly brush the garlic butter mixture over the top of the rolls.
Bake
Place the rolls in an oven-safe dish and bake for 8-10 minutes or until the cheese is melted and the tops of the rolls are golden brown.
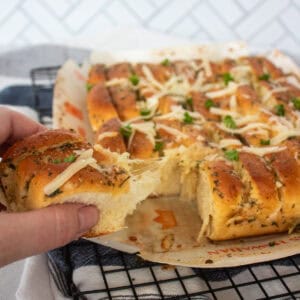
Serve
If desired, garnish with additional mozzarella cheese and fresh parsley. Enjoy hot!

Recipe Success Tips
- Bake in the paper tray. I recommend baking the King’s Hawaiian garlic bread directly in the paper tray for ease and convenience. If using a different brand without the paper tray, transfer the rolls to an 9x13-inch baking dish sprayed with non-stick cooking spray before preparing.
- Melt the butter on gentle heat. Prevent messy and hot splatters by covering the butter and heating it in the microwave on low or medium-low for 30-second intervals until melted.
- Make ahead directions. If needed, you can prep the rolls up to 24 hours in advance. Fill the sliced rolls with cheese, brush them with the garlic herb butter, and place them in the baking pan before covering them with aluminum foil before refrigerating. Before serving, bake the garlic bread rolls as directed.
Serving Suggestions
Enjoy this King Hawaiian rolls recipe with any of the following meals for a complete and comforting meal:
Recipe Variations
- Swap Parmesan Cheese - Fill the bread slits with shredded parmesan cheese instead of mozzarella for a more robust, cheesy taste.
- Use Fresh Parlsey or Garlic - Stir in 1 tablespoon of fresh curly or flat-leaf parsley and 1 tablespoon of chopped or grated fresh garlic instead of the dried parsley and garlic powder for a fresher, more pungent flavor.
- Substitute Mixed Fresh Herbs - Chop 1 ½ tablespoons of fresh rosemary, thyme, parsley, and oregano instead of the dried parsley and Italian seasoning for a fresh herby twist.
- Add Chili Flakes - Enjoy a bit of a spicy kick? Add up to ½ teaspoon of red pepper flakes to the herb and garlic butter.
Storage Directions
These garlic bread Hawaiian rolls are best enjoyed fresh, but you can store and reheat leftovers as directed:
- Refrigeration: Cool the rolls to room temperature before transferring them to an airtight container and refrigerating for up to 3 days.
- Freezing: The cooled garlic bread can also be frozen in a freezer-safe container for up to 2 months. Defrost it at room temperature for 1 hour or in the refrigerator for 2-3 hours before reheating.
- Reheating: Wrap the garlic Hawaiian rolls securely in aluminum foil before reheating them in a 250°F degree oven for 5-10 minutes or until heated through. The bread will be crispier on the outside, and the cheese won’t pull as well, but they will still be delicious!
More Recipes with Hawaiian Rolls
Enjoy!
I hope your family loves this easy cheesy garlic bread as much as mine does, and that it becomes one of your favorite things to have on pasta night or any night! Be sure to come back and let me know how it went for you or what you served it with.
📖 Recipe
Hawaiian Roll Garlic Bread
Equipment
- Serrated knife
- 9x13 pan or rimmed baking sheet
- Microwave safe dish for melting butter
- measuring spoons
- Pastry or basting brush
Ingredients
- 12 ea hawaiian rolls
- 4 oz mozzarella cheese shredded, plus extra for garnish (optional)
- 6 tablespoon butter salted
- 1 teaspoon dried parsley plus fresh for garnish (optional)
- 1 teaspoon garlic powder
- ½ teaspoon Italian seasoning
Instructions
- Preheat oven to 350 degrees F. Create two slits in each roll, cutting most but not all of the way through the rolls.12 ea hawaiian rolls
- Evenly distribute the mozzarella cheese into the slits in the bread.4 oz mozzarella cheese
- Melt butter in a microwave safe dish and stir in dried parsley, garlic powder, and Italian seasoning. Brush onto hawaiian rolls.6 tablespoon butter, 1 teaspoon dried parsley, 1 teaspoon garlic powder, ½ teaspoon Italian seasoning
- Bake in an oven safe dish for 8-10 minutes, until cheese is melted and tops of rolls are just golden brown.
- Optionally garnish with additional mozzarella and fresh parsley, and enjoy!
Podcast or Video
Notes
- Refrigeration: Cool the rolls to room temperature before transferring them to an airtight container and refrigerating for up to 3 days.
- Freezing: The cooled garlic bread can also be frozen in a freezer-safe container for up to 2 months. Defrost it at room temperature for 1 hour or in the refrigerator for 2-3 hours before reheating.
- Reheating: Wrap the garlic Hawaiian rolls securely in aluminum foil before reheating them in a 250°F degree oven for 5-10 minutes or until heated through. The bread will be crispier on the outside, and the cheese won’t pull as well, but they will still be delicious!
- Bake in the paper tray. I recommend baking the King’s Hawaiian garlic bread directly in the paper tray for ease and convenience. If using a different brand without the paper tray, transfer the rolls to an 9x13-inch baking dish sprayed with non-stick cooking spray before preparing.
- Melt the butter on gentle heat. Prevent messy and hot splatters by covering the butter and heating it in the microwave on low or medium-low for 30-second intervals until melted.
- Make ahead directions. If needed, you can prep the rolls up to 24 hours in advance. Fill the sliced rolls with cheese, brush them with the garlic herb butter, and place them in the baking pan before covering them with aluminum foil before refrigerating. Before serving, bake the garlic bread rolls as directed.
Nutrition
Nutrition information is provided as a courtesy and is an estimate. It is recommended to use your preferred calculator with the actual ingredients you use for optimal accuracy.


Leave a Reply